What if the most memorable part of your packaging isn’t an elaborate box, but the moment a customer opens it with ease? Creating a memorable unboxing experience is about getting that balance right: protecting the product, building anticipation and making your brand instantly recognisable. Packaging can also shape how customers judge what’s inside. A September 2026 survey by Epignosis Insights and VistaPrint found that 89% of consumers said packaging quality influences their perception of product quality.
It’s understandable to wonder which details customers will notice, or whether extra layers and finishes might feel wasteful or awkward. A strong unboxing doesn’t need to be complicated. It should suit the product, the customer and the way the package will be handled.
This guide will help you plan a coherent reveal, choose practical details and turn your ideas into a clear print and packaging brief. We’ll look at product fit, structure, brand elements and the opening sequence, so you can create packaging that feels considered without adding unnecessary fuss. Print It ZA offers custom packaging design and production to help turn a concept into a practical solution for your product and audience.
Key Takeaways
- Plan the unboxing as a sequence, from the package exterior to the product reveal, so each moment feels connected to your brand.
- Match the packaging structure to the product’s shape, fragility and journey to balance protection with presentation.
- Keep the experience practical by considering ease of opening and avoiding unnecessary packaging elements.
- Turn your concept into a clear brief with dimensions, layout, material, print and finishing preferences, then review a prototype.
- Creating a memorable unboxing experience can start with a focused custom packaging concept, developed around your product and customer.
What makes creating a memorable unboxing experience worth planning?
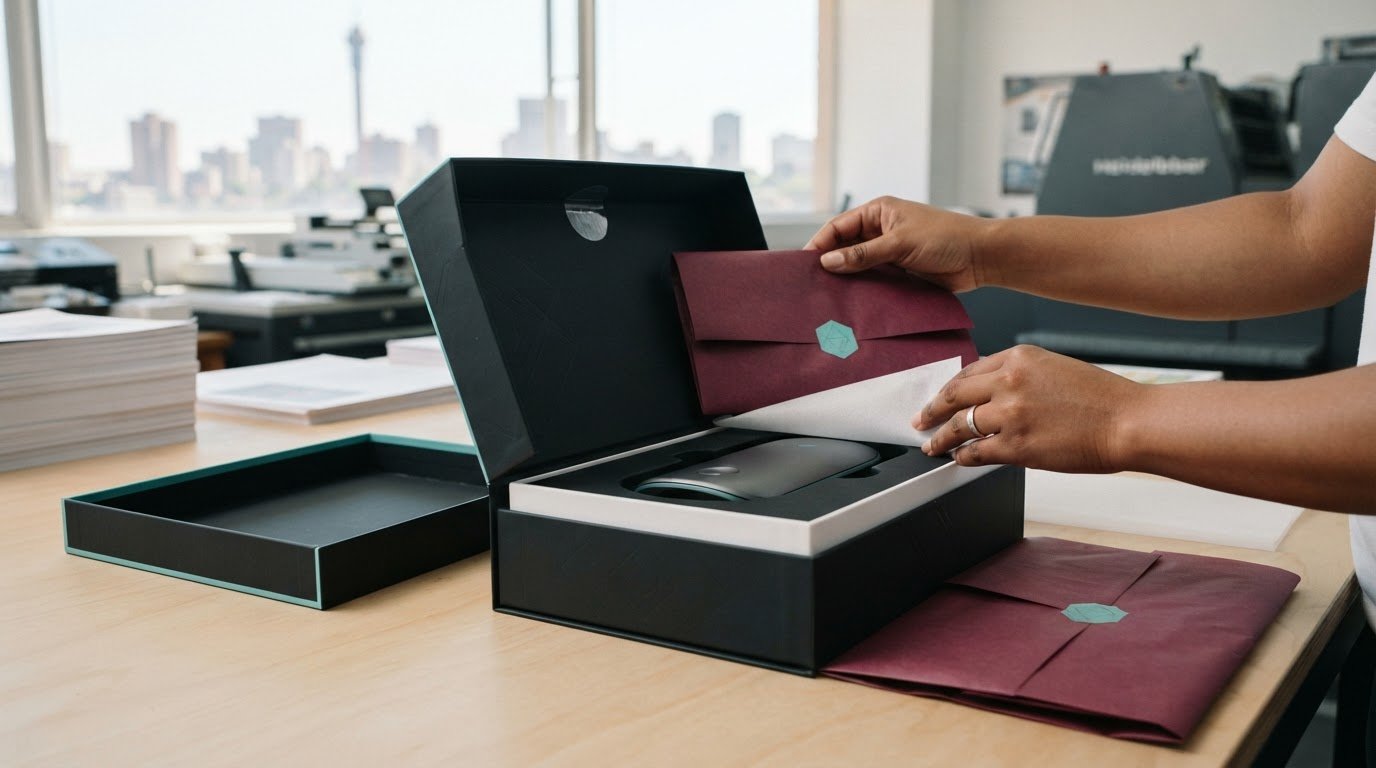
Unboxing begins before a customer sees the product. It includes receiving the parcel, noticing its appearance, working out how to open it and discovering what’s inside. Each step contributes to the impression a brand makes, whether the order arrives at a home, workplace or another delivery point.
A memorable unboxing experience is a clear, easy-to-follow opening sequence that protects the product and expresses the brand at each reveal. Planning this sequence helps you identify which details serve a purpose and which add complexity. More layers, inserts or decoration don’t automatically make packaging more thoughtful. A single well-placed brand message can feel more considered than several extras that slow the customer down.
Which moments shape a customer’s first impression?
Think of an ecommerce order arriving in a plain outer parcel. The customer first sees its condition and any visible branding. Next comes the opening action, followed by the interior presentation and the product reveal. A tidy layout and clear opening point can make the sequence feel intentional. A crushed-looking parcel, confusing closure or product hidden beneath unnecessary material can disrupt it. Use this example as a planning prompt, not a rule for every order.
Map the moments in order, then decide what each one should communicate. The outside might provide quick brand recognition, while an interior message can welcome the customer or direct attention towards the product. The reveal should match the expectations created by the packaging. If the presentation feels polished but the product is loose or difficult to reach, the elements tell different stories.
Why does the experience need to feel easy as well as distinctive?
Distinctive packaging earns attention, but customers still need to open it without confusion. If they can’t see where to start, or have to work through layers that don’t protect or present anything, that friction can overshadow the care in the design. Clear opening cues and a simple sequence help customers move smoothly from parcel to product.
Ease doesn’t mean stripping away every detail. It means choosing details that work together. A closure should hold the package securely and make its opening action understandable. An insert should keep the product in position or add useful context, rather than becoming an obstacle. Test the design with someone who hasn’t seen it before. Observe where they pause, pull or turn the package, then refine any confusing step.
Use three questions to check whether the experience is working: does the structure suit the product, does the presentation express the intended brand impression, and can the customer reach the product comfortably? Protection, visual appeal and usability belong in the same design conversation. When creating a memorable unboxing experience, the aim isn’t to add the most. It’s to make each choice earn its place.
How packaging design builds anticipation from outside to inside
A well-planned package gives the customer a sequence to follow. The exterior establishes recognition, the opening reveals what’s inside, and the final view draws attention to the product. Each surface can add to the story, but it should feel like part of one design rather than a collection of unrelated branding choices.
A planned reveal uses each packaging detail to guide attention; decoration simply adds elements without shaping what the customer sees or does. That distinction keeps the design purposeful. Before choosing finishes or inserts, decide what the customer should notice at each stage and what practical role each feature will play.
How can a reveal sequence guide attention?
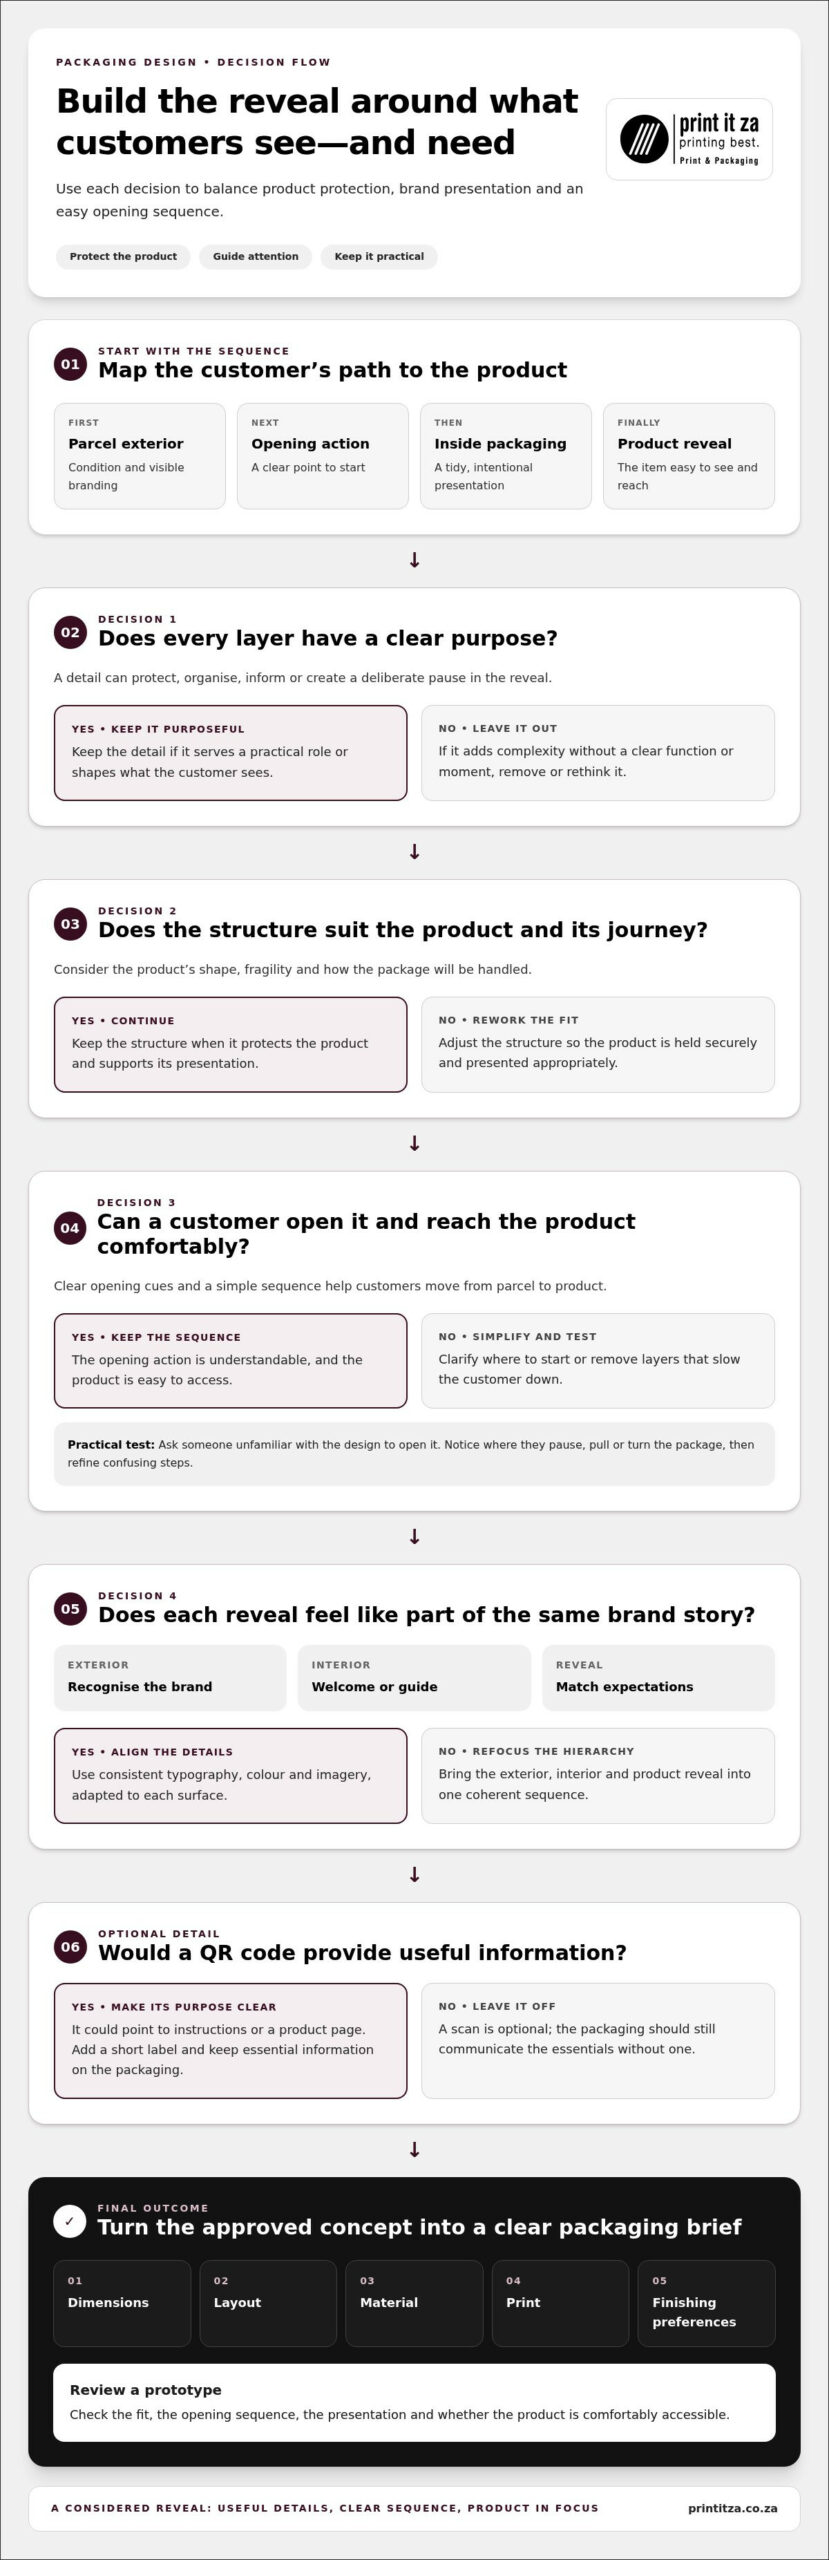
Map the experience in order: first the parcel exterior, then the opening action, then the inside of the packaging, and finally the product. For each stage, identify the main focal point. A printed mark might help identify the brand outside, while a short message inside can lead naturally towards the item. Add a layer only if it protects, organises, informs or creates a deliberate pause in the reveal.
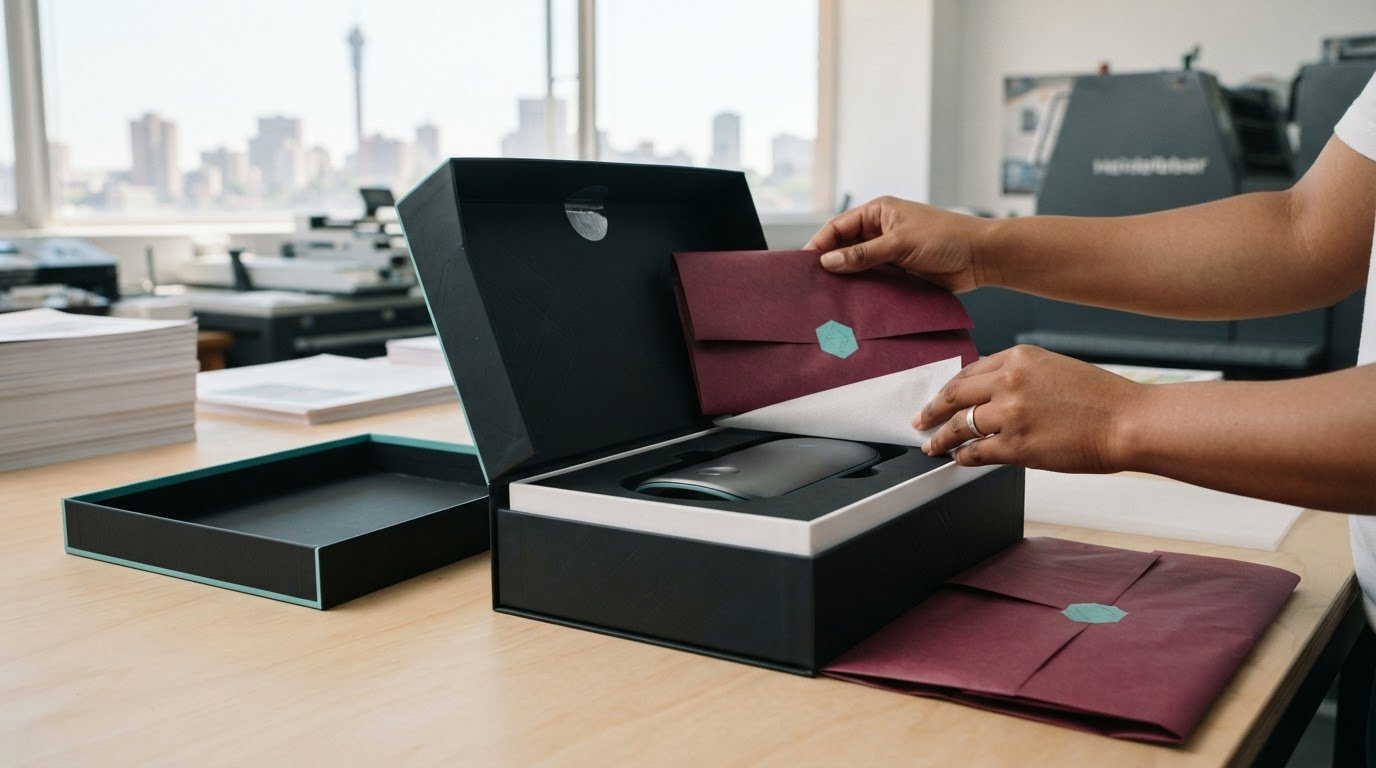
Consider an order with a product held in a fitted insert. The customer opens the outer package, sees a clean interior, and then lifts the product from its position. The design can use contrast or placement to direct the eye without making the product hard to reach. If an insert or wrap doesn’t add a clear function or moment, it may be better left out.
Which printed details help carry the brand inside?
Interior print can extend the identity customers first notice on the outside. A welcome message, concise product information or a carefully placed brand mark can make the inside feel considered. Keep typography, colour and imagery consistent across surfaces, while adapting their scale and placement to the space. A restrained design system helps the message stay legible instead of competing with the product.
A QR code is another optional touchpoint. It could direct a customer to useful information, such as instructions or a product page, if that suits the order and audience. Treat it as a practical choice, not a guaranteed way to prompt a particular response. Make its purpose clear with a short label, and ensure the packaging still communicates the essentials without requiring a scan.
Build the design around a simple hierarchy: brand recognition, useful information, then the product reveal. Choose materials and print treatments that support that hierarchy and suit the package, rather than adding detail for its own sake. This makes creating a memorable unboxing experience easier to translate into a design brief, because every colour, message and printed element has a defined role.
Custom packaging design and production brings the visual system and the physical structure together, so the reveal works as a coordinated whole.
How to balance packaging protection, presentation and practicality
Packaging decisions work best as a set of connected priorities. A striking design still needs to protect the product, open without confusion and use materials that suit the project’s requirements. Start with the item and its journey, then decide how much visual detail the structure can support. This order helps you avoid designing a beautiful package that doesn’t work in practice.
Use these questions to compare trade-offs before settling on a concept:
Protection: What could happen to the product during handling, and how should the structure limit movement?
Presentation: What should the customer notice first, and how does that support the brand impression?
Ease: Is the opening point clear, and can the customer reach the product without unnecessary effort?
Material use: Which materials meet the project’s stated protection, print and presentation requirements without adding unneeded layers?
How should the package fit and protect the product?
Begin with the product’s dimensions, shape and handling needs, not the decoration. Consider whether it has parts that can shift, edges that need support or a form that calls for a particular orientation. A secure fit can help limit movement inside the package, while leaving enough clearance for the product to be removed comfortably.
Assess the product’s journey too. The requirements for a sturdy item may differ from those for a fragile one or a package handled through several stages. Build a prototype, place the product inside and test it through representative handling and opening steps. Look for movement, pressure points and awkward access, then refine the structure before finalising the design.
How can you avoid overdesigning the unboxing?
Review each layer, insert and printed element against a clear purpose. Keep it if it supports protection, helps the customer understand the contents, improves access or contributes meaningfully to presentation. Remove it if it adds handling effort without serving one of those roles. This makes the package feel considered rather than crowded.
Check the opening point from the customer’s perspective. Can they tell where to begin? Can they lift or remove the product without pulling apart several unnecessary components? Branding also benefits from restraint: a consistent mark, colour palette and message usually create a clearer impression than repeating the same logo on every surface.
Keep project requirements visible when weighing materials and finishes. A material choice should support the package’s structure and intended appearance, as well as any specific requirements for the project. Don’t assume one option is right for every product. The strongest design balances fit, protection, presentation and ease for the item it’s made to hold. That practical balance is central to creating a memorable unboxing experience.
How to plan and test an unboxing experience step by step
A practical process turns creative ideas into packaging that can be assessed before production. Start with what the customer needs and what the product requires, then develop the structure and visual details together. Use this workflow to keep decisions clear and make changes while the concept is still being tested.
- Define the product and recipient. Record what the package will hold, who will receive it and how it will be handled. Note relevant product dimensions, shape and protection needs, along with the brand impression you want to create.
- Map the reveal. Write down what the customer should see first, what appears after opening and how the product is presented. Keep each stage purposeful and make the opening action easy to understand.
- Draft the packaging brief. Specify dimensions, layout, material or paper preferences, print requirements and finishing preferences. Include any functional needs, such as how the product should sit inside or how the package should open.
- Separate essentials from options. Mark must-haves, such as fit, protection and required information, separately from optional touches like an extra printed message. This keeps trade-offs visible as the concept develops.
- Review a prototype. Assemble the packaging with the product inside and assess the complete parcel, from its outer appearance to the final reveal. Record issues and refine the brief before approving the design.
What belongs in a clear packaging brief?
A useful brief brings the customer, product and brand priorities into one place. Describe the intended recipient, the desired impression and the opening sequence, then add the physical details: dimensions, layout, material preferences, print and finishing choices. State functional requirements clearly, and label optional elements so they don’t obscure the essentials.
What should you check in a prototype?
Check that assembly is straightforward, the product fits securely and the package opens as intended. Review whether printed colours, text and brand elements work across both exterior and interior surfaces. Then ask people representative of the intended customer to handle the complete parcel. Notice where they hesitate, struggle to find information or have difficulty reaching the contents. Use their observations to update the structure and brief.
Assessing only a flat design can miss problems that appear once the package is folded, assembled and filled. A prototype lets you consider structure and graphics as one physical experience. This practical testing step helps turn creating a memorable unboxing experience from a visual idea into a clear, usable specification.
For support developing and testing a packaging concept, explore custom packaging solutions with Print It ZA.
How Print It ZA print and packaging brings memorable unboxing concepts to life
A packaging idea becomes useful when the design, structure and print choices all support the product and the brief. Print It ZA works with businesses to develop custom packaging and boxes, tailoring details to the project rather than relying on a one-size-fits-all concept. That can mean refining how the product sits inside, where printed brand elements appear and how the package opens.
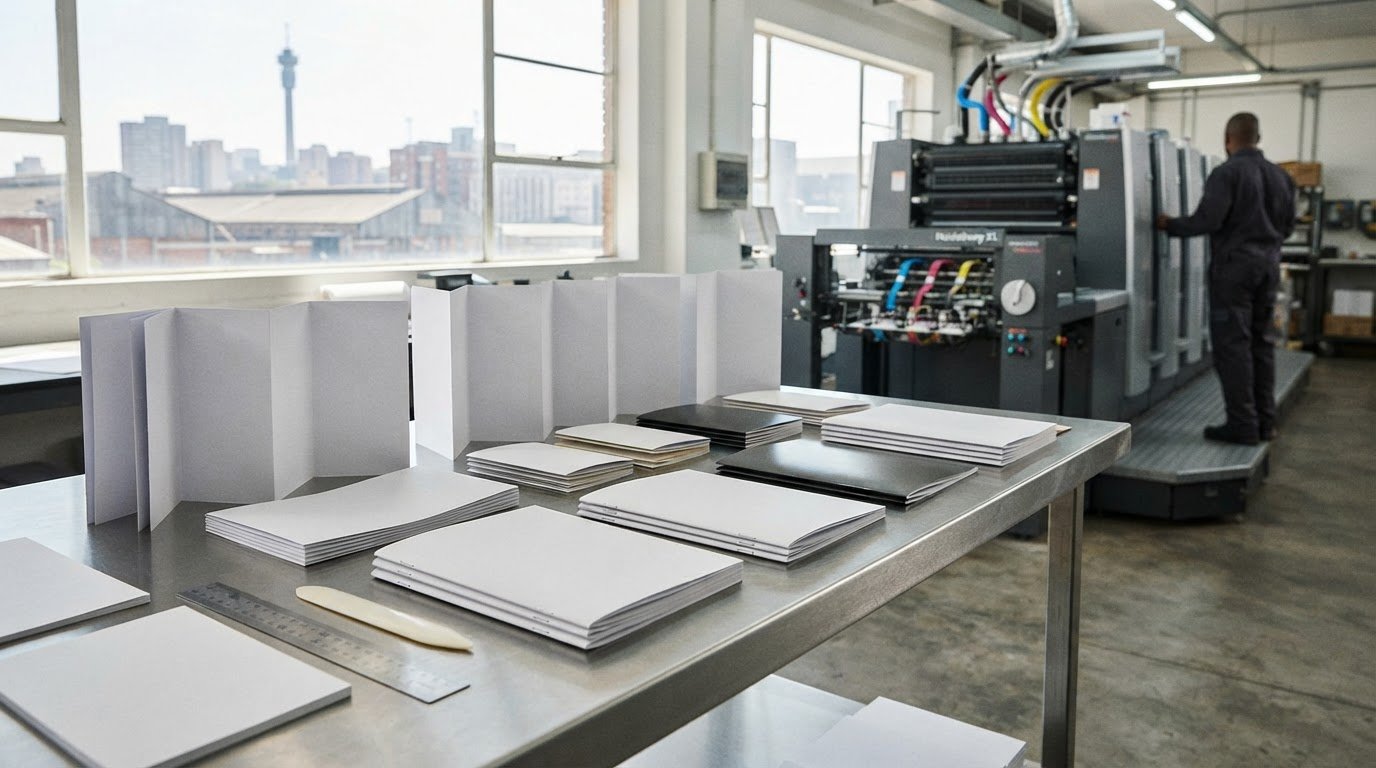
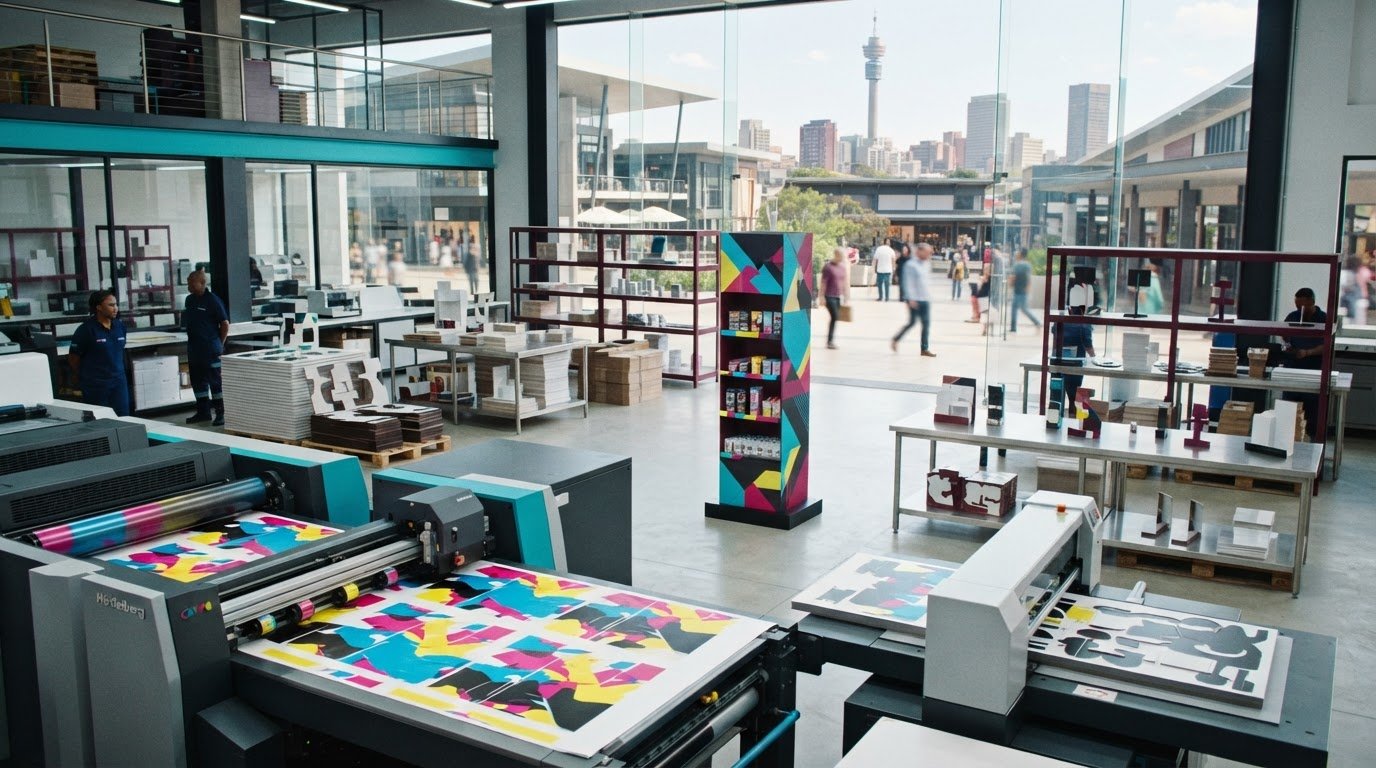
With design and production in-house, Print It ZA can bring those decisions together. The team supports concepts through packaging production, including prototypes, die-cutting and assembly. This gives you a practical way to move from a visual direction to a physical package that can be reviewed and refined.
How does in-house production support a coordinated result?
Design, printing and production choices affect one another. A change to the structure can alter the available print area; a chosen layout may influence how the package is assembled. Print It ZA’s in-house design and production support brings these considerations together as the concept develops, without outsourcing the work.
Litho or digital printing can be considered in relation to the project requirements and packaging design. Start with the brief: product dimensions, intended layout, print elements and finishing preferences. A prototype can then show how the structure and printed design work together before the final specification is settled.
Be specific about what matters most. If product fit is central, make it clear in the brief. If the interior reveal or a printed message is a priority, show where it belongs in the opening sequence. This gives the design and production process clear criteria to work towards, while leaving room to tailor details to the product.
What happens when the packaging is ready to move?
Once the packaging requirements are defined, request an online quote, approve it and upload your files. A clear brief keeps the project details together, from the packaging structure to the artwork and finishing preferences. Print It ZA produces custom packaging for a range of project needs.
Delivery can be arranged to a customer address, warehouse or educational institution. Free delivery is available for orders up to 90 kg anywhere in South Africa, a practical fulfilment detail for businesses planning packaging supply across the country, including Gauteng.
Creating a memorable unboxing experience doesn’t stop at choosing a striking design. It takes a coordinated handoff from concept to structure, print and production, with decisions guided by the product and the brief. To move your packaging concept towards production, request an online quote for your packaging project.
Take the next step with your packaging idea
Your packaging can do more than carry a product. It can make the first interaction with your brand feel clear, thoughtful and easy to remember. Start with one focused question: what should a customer understand or feel as they open the parcel? That answer can guide your next design decision and keep the concept anchored to a real purpose.
Creating a memorable unboxing experience doesn’t require every surface to compete for attention. A clear direction gives the design team a stronger starting point and helps turn your brand vision into a packaging concept shaped around your product.
Ready to move from idea to a practical packaging brief? Begin your custom packaging quote and take the first step towards a reveal that feels distinctly yours.
With a considered plan and the right creative support, your next packaging concept can become a confident expression of your brand.
Frequently Asked Questions
What is a memorable unboxing experience?
It’s the customer’s full interaction with a parcel, from its arrival to the moment they can use or inspect the product. A strong experience feels intentional: the package gives a clear sense of the brand, and nothing between the customer and the item feels confusing or unnecessary. For example, an order might include a concise care card placed where it’s easy to find, rather than information buried beneath layers.
How can a small business create a memorable unboxing experience?
Choose one clear impression to communicate, then make each packaging decision support it. A small business might use a consistent colour and type style, with a brief thank-you message that sounds like the brand. Keep the experience manageable to pack as well as pleasant to receive. Trying the design with a few completed parcels can reveal whether the process is practical for the team handling orders.
Does custom packaging improve the unboxing experience?
Custom packaging can make the package’s dimensions, printed identity and presentation more closely suited to a particular product. It’s most useful when those adjustments solve a real need, such as presenting an unusually shaped item or giving a branded product set a unified appearance. For a straightforward item, standard packaging may be sufficient. Compare what customisation adds against the protection, handling and production needs of the order.
How do you make packaging easy to open but still protective?
Choose a closure and structure that hold the item securely while making the opening action understandable. For example, a package with a tucked flap should let the recipient see where to lift without needing to pull at the product itself. Check for movement inside and consider whether a customer can open it with the tools or effort normally available to them. A physical sample can help expose awkward points.
Can sustainable packaging still feel special?
Yes. A distinctive experience can come from thoughtful layout, clear messaging and a satisfying reveal, not simply from adding material. Start by listing the project’s protection and presentation needs, then assess possible materials against those requirements. Avoid calling packaging recyclable or sustainable unless you can support that claim for the specific material and context. Clear, accurate information helps customers understand how to handle the packaging after opening.
What should I include in a custom packaging design brief?
State what the package must hold and do, then include the product’s measured dimensions, the intended recipient and the brand elements to use. Clarify which surfaces should carry artwork and whether any text needs to be easy to locate. Note functional requirements, such as how the contents should be arranged. If you have a visual reference, identify what you like about it rather than treating it as a complete specification.
How can I test an unboxing experience before a full production run?
Use a representative sample with the actual product and any items that will go inside. Ask a tester to open it without guidance, then note the order they handle the components and any point where they pause or need extra force. Also inspect the contents afterwards for shifting or contact with the package. Use observations to make specific changes, such as adjusting an opening cue or the product’s position.
Can a QR code be part of an unboxing experience?
Yes, a QR code can link printed packaging to a digital resource, such as instructions or product information. Give the code a short label that explains its purpose, and check it from the printed artwork rather than relying only on a screen preview. Confirm that the destination works on a phone and remains relevant to the item. Keep essential instructions or details available on the packaging when customers need them without scanning. For custom packaging in Gauteng or elsewhere in South Africa, request an online quote from Print It ZA.