The right planner isn’t just about how it looks. For custom planner printing in 2026, the useful choices are the ones that support how people will use it, from the page layout and size to the binding and cover. Get those decisions aligned early, and the finished planner can feel considered as well as practical.
You likely already know the broad purpose of your planner, whether it’s for personal organisation, a team, a school or a business. The challenge is turning that purpose into print choices that work together. This guide explains what to consider when shaping your planner, including its format, page design, paper, binding and finish. You’ll come away with a clearer brief and a better sense of which options suit your needs.
Key Takeaways
- Start with the planner’s purpose and intended users to guide the format and page layout.
- Choose a size and layout that make the planner comfortable to use and easy to carry or store.
- Consider how paper, binding and cover choices affect the planner’s appearance and everyday practicality.
- Bring your content and print preferences together in a clear brief so the finished planner suits your needs.
- Print It ZA print and packaging can help turn your planner brief into a print project.
Custom planner printing 2026
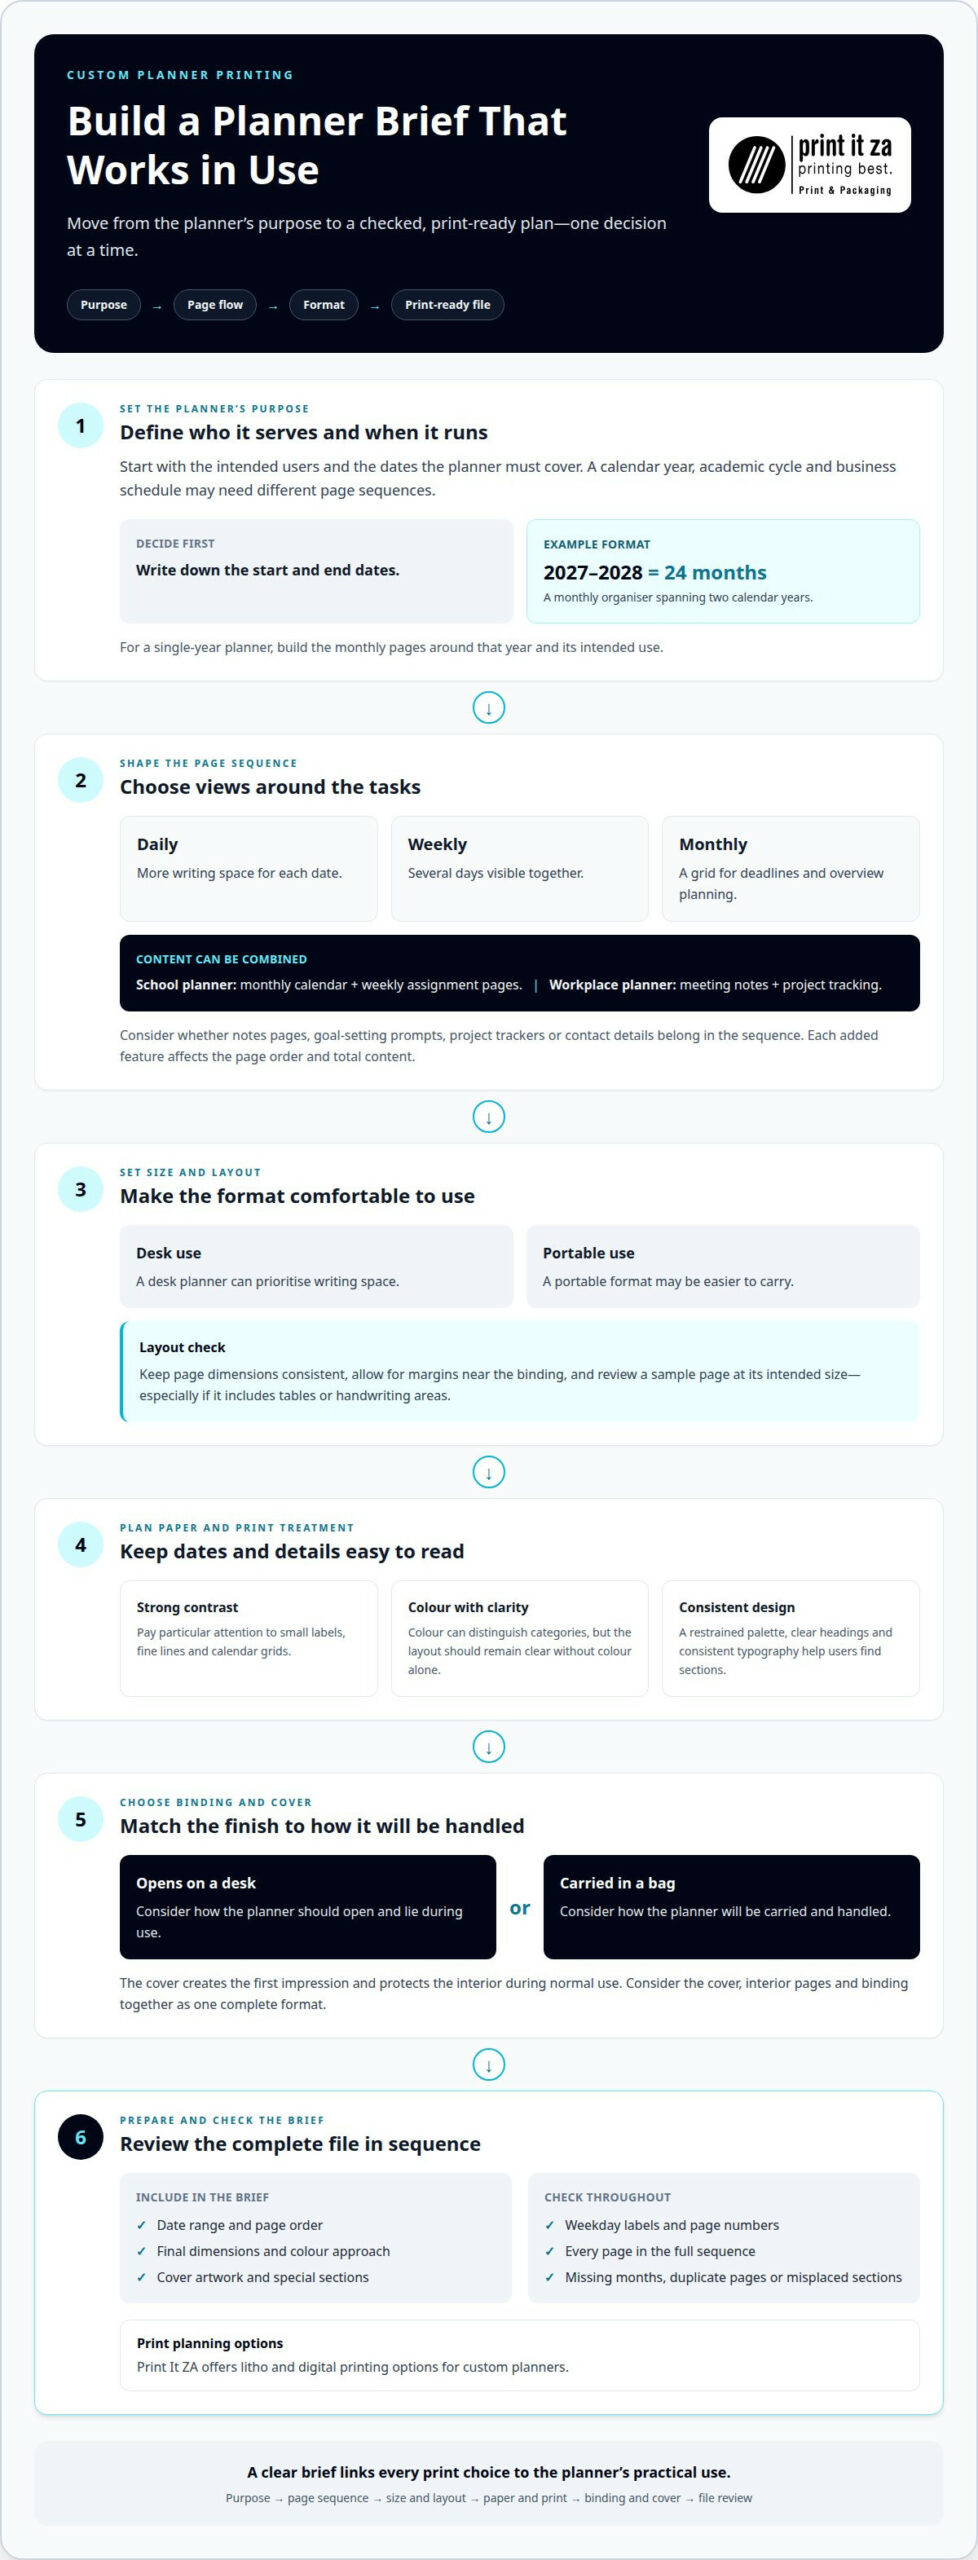
For custom planner printing in 2026, begin with the dates the planner must cover. A planner for a calendar year, academic cycle or business schedule needs different page sequences. List the start and end dates, then decide whether users need daily, weekly or monthly views. This first step shapes the page count and helps prevent missing sections.
A 2027-2028 monthly planner is a 24-month organiser. That extended span suits users who want to see plans across two calendar years. If your project instead serves a single year, build the monthly pages around that year and its intended use. For either format, decide whether the planner also needs notes pages, goal-setting prompts, project trackers or contact details.
Map the interior before settling on decorative details. A daily layout gives each date more writing space, while a weekly spread shows several days together. A monthly grid supports deadlines and overview planning. For example, a school planner could combine a monthly calendar with weekly assignment pages; a workplace planner could prioritise meeting notes and project tracking. Each added feature affects the page sequence and total content.
Choose the finished size according to how people will use the planner. A desk planner can prioritise writing space, while a portable format may be easier to carry. Keep page dimensions consistent throughout the document and account for margins near the binding. If the design includes tables or handwriting areas, print and review a sample page at its intended size before finalising the layout.
Paper and print treatment affect legibility and the feel of the finished pages. Use strong contrast between text and background, particularly for small labels, fine lines and calendar grids. Colour can distinguish categories, but make sure the layout remains clear without colour alone. A restrained palette, clear headings and consistent typography help users find dates and sections quickly.
Choose a binding to suit how the planner will open and be handled. A planner intended to lie open on a desk has different practical needs from one designed to be carried in a bag. The cover creates the first impression and protects the interior during normal use. Consider the cover, interior pages and binding together as one complete format.
Before printing, prepare an organised brief with the date range, page order, final dimensions, colour approach, cover artwork and any special sections. Check repeated elements, such as weekday labels and page numbers, for consistency. Review the entire file in sequence, rather than selected spreads only. This can catch a missing month, duplicated page or section in the wrong place.
- Define the planner’s users and date range first.
- Select daily, weekly or monthly layouts to suit their tasks.
- Match size, paper, cover and binding to how the planner will be used.
- Review page order and repeated details across the full document.
A clear brief links each decision to the planner’s practical use. When the dates, layout and print choices support the same purpose, the finished planner feels coherent. Preparing the brief also helps you explain which details matter most and where to focus your choices.
Print It ZA print and packaging: print planners
Print It ZA produces custom planners in-house, with litho and digital printing options. Once the dates and layout are settled, share the intended format, page content and cover direction to start planning the print project. Print It ZA supports the process from order planning through delivery, with customisation options for paper, colour, finishing, size, layout and binding.
This can suit businesses, schools and organisations preparing planners for a particular group or purpose locally in Gauteng and Johannesburg. If your planner is part of a wider print project, Print It ZA also produces books and catalogues, so you can plan related materials together.
To discuss your planner printing project, contact Print It ZA print and packaging.
Give Your Planner a Clear Next Step
Use your planner brief as the starting point for decisions, not a rigid template. As your team reviews the content, keep the intended user in view and note any changes that would make the finished piece more useful. A focused brief gives your custom planner printing project for 2026 a clear direction while leaving room to refine details as the design takes shape.
Print It ZA prints planners in-house and also produces books, catalogues and brochures for related print projects. Share your planner’s purpose, quantity, page count, paper preference and binding requirements when requesting a quote, and the team can help plan the next steps.
Contact Print It ZA print and packaging to discuss your planner project and take the next step with confidence.