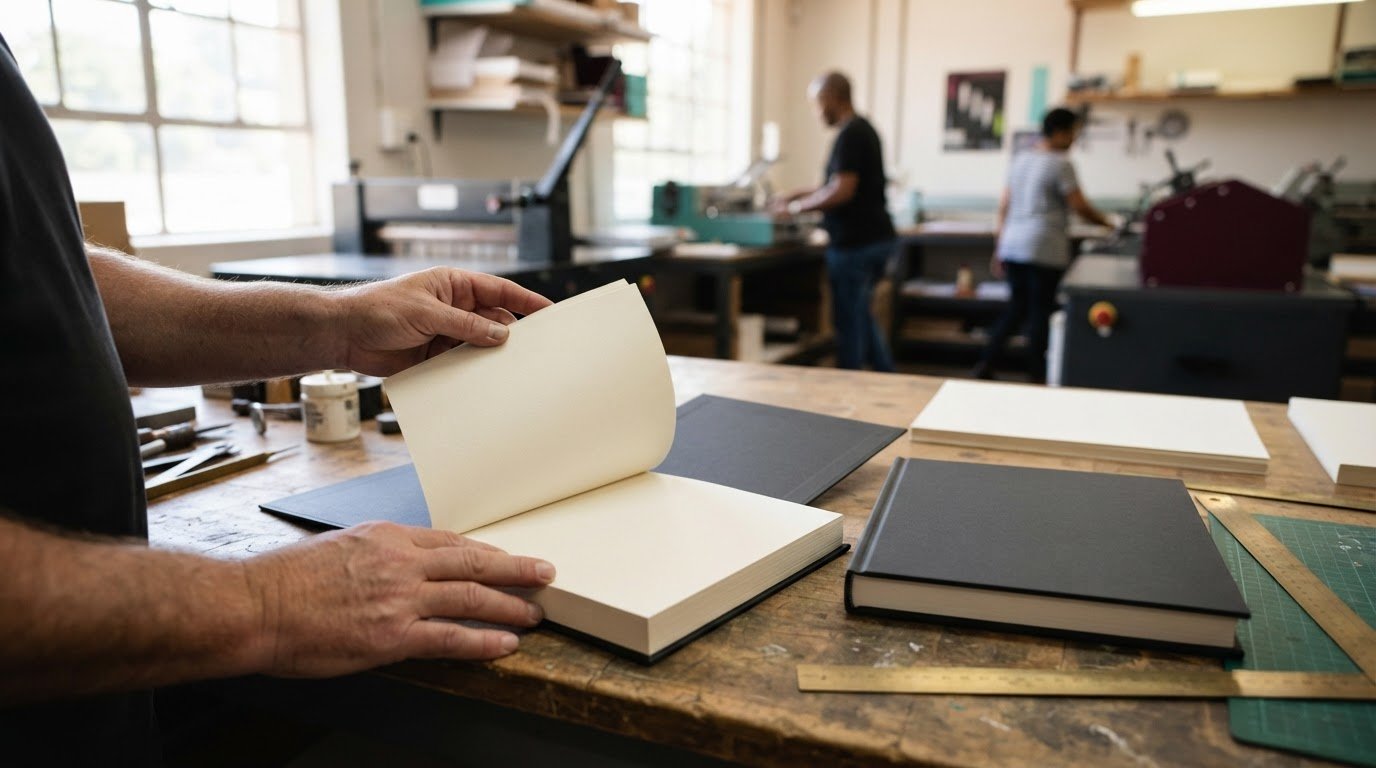
A sample can help you assess a book’s feel, but its value depends on what you need to review: paper, cover finish, binding or overall design. For hardcover book printing in Johannesburg, the chosen size, paper and final artwork all shape how the finished book looks and handles. Set these decisions before production so you can prepare files that are ready for print.
It’s natural to want the printed book to match the vision on your screen. A well-planned hardcover balances appearance with practical details, from readable page layouts to a cover that wraps correctly around the book block.
This guide covers choosing a book size and paper, preparing bleed and cover files, creating a dust jacket and understanding how page count affects production. It also explains when a sample can help you review your choices, so you can move towards a polished book with confidence.
Key Takeaways
- Choose a book size and paper that suit its content, intended feel and image requirements.
- Set up bleed and cover files carefully so artwork can extend to the edges without disrupting important content.
- Plan the full cover spread, including the spine, around the finished book’s dimensions.
- Use a dust jacket to add a separate printed cover layer, and account for its folds and flaps in the artwork.
- Paper choice and binding affect page-count limits; Print It ZA print and packaging can help bring your book project into production.
Book sizes and paper choices
Choose the finished dimensions and paper before laying out the pages. These decisions affect reading comfort, image presentation and how the book feels in hand.
Book Size Options
Start with the content and how readers will use the book. A compact format can suit a text-led novel, while a larger page gives photographs, illustrations or diagrams more room. For a Johannesburg coffee table book, consider whether images need generous space without making the volume awkward to hold. Set the finished width and height in millimetres before designing the interior.
Paper Choices
Match the interior paper to the content. Coated paper offers a smooth surface for photographs, while uncoated paper gives text a less reflective reading surface. Consider how ink, image detail and page flexibility work together. A recipe book with full-page food photography, for example, has different needs from a text-heavy novel. The cover material and finish should also suit the book’s intended look and handling.
Paper, cover and finishing decisions work together. Consider coated or uncoated interior stock, a printed hard cover and a surface finish that suits the design. A glossy, image-led cover creates a different impression from a restrained matte treatment. The best combination depends on the artwork, reading experience and how the finished book will be used.
For clear photographs, United Nations guidance states that images should be 300 dots per inch resolution at 100% for optimal print results. Prepare image files at their placed size, then review them at full scale; enlarging a small image can reduce visible detail. Check captions, image crops and colour consistency alongside resolution, especially across facing pages.
For a local project with Print It ZA print and packaging, account for the Johannesburg delivery destination and arrangement when planning the full scope. VAT and logistics depend on local production details, transaction requirements and shipment specifics within the city. Consider these alongside the printed hardcover book printing project cost, rather than treating the book itself as the only expense.
Production and delivery timing depend on the approved proof, book specifications and your Johannesburg delivery destination. Page count, paper selection and cover setup shape the production work, while late artwork changes can affect the schedule. Plan around final file preparation and proof approval, then allow for delivery to your designated local address.
Before approving a proof, inspect the finished size, page order, trim, cover alignment and spine text. Check photographs at actual size and look for missing fonts, clipped words, inconsistent colour or blank pages. Review the cover alongside the first and last interior pages, then compare the proof with the final approved artwork. Resolve errors before production begins.
Cover and interior file bleed
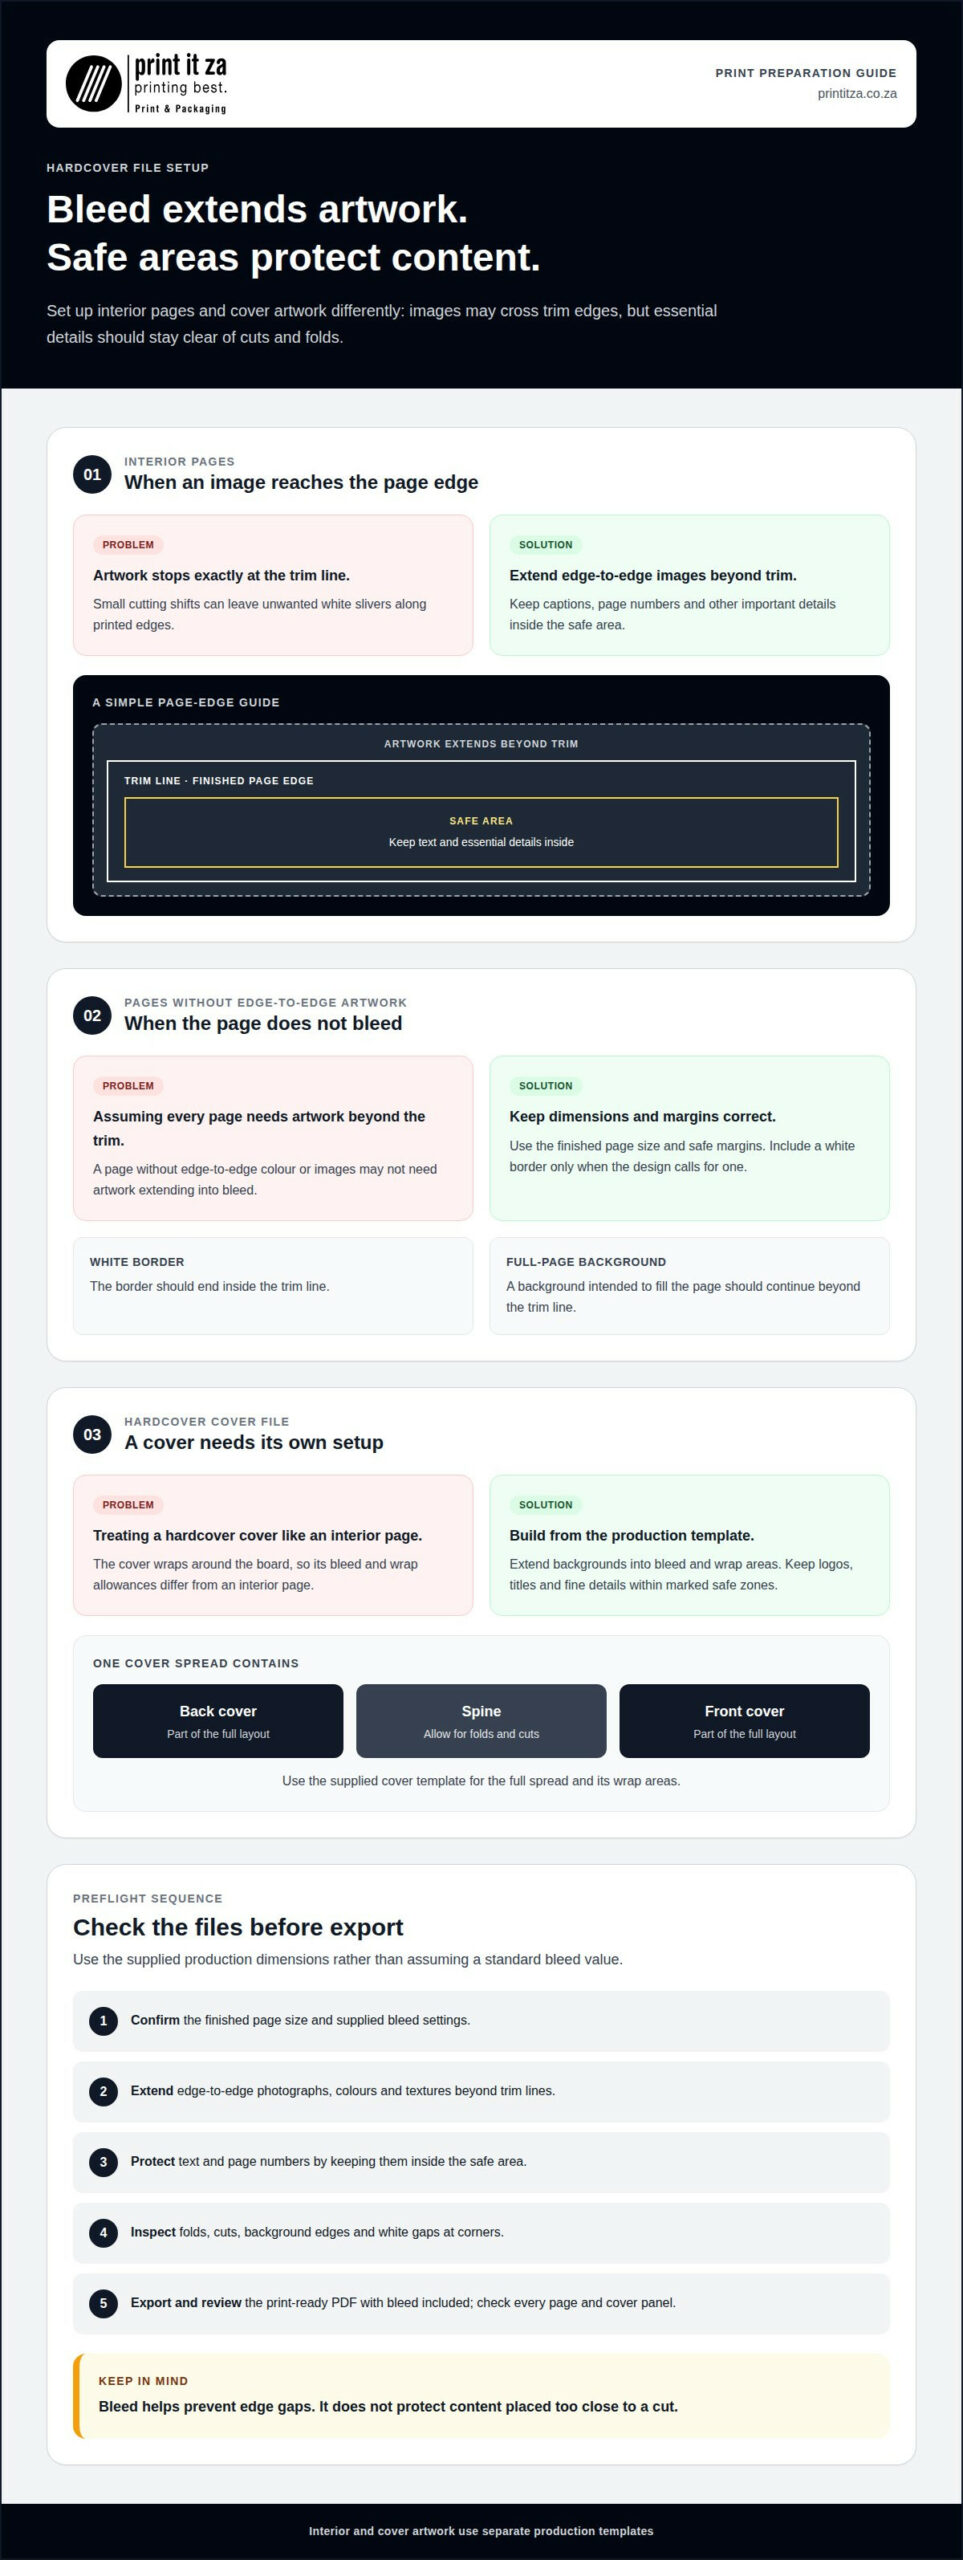
Bleed is extra artwork extending beyond a page’s trim edge. It gives cutting equipment room to move without leaving unwanted white slivers along printed edges. Set it up before exporting the interior PDF or cover artwork. The required bleed depends on the production template, so use the supplied dimensions rather than assuming a standard value.
For an interior page with an edge-to-edge photograph, extend the image beyond the trim line on every affected side. Keep text, page numbers and important details inside the safe area. Bleed prevents gaps, but it won’t protect content placed too close to the cut. A full-page image can extend outward, while its caption should remain comfortably within the finished page.
Prepare interior pages with bleed
In your layout software, set the document page size to the finished book size, then enter bleed values separately. Keep facing pages in order, and check that any image crossing a spread extends beyond both outer trim edges. Export a print-ready PDF with bleed included. Inspect it at page size before delivery and confirm that no trim marks overlap the artwork.
Pages without edge-to-edge colour or images may not need artwork extending into bleed. However, the document still needs the correct page dimensions and safe margins. Include a white border only if the design calls for one. A white page border should end inside the trim line, while a background colour intended to fill the page must continue beyond it.
Extend cover artwork carefully
A hardcover cover file includes areas that wrap around the board, so its bleed and wrap allowances differ from those of an interior page. Build the cover from the production template, keeping logos, titles and fine details away from folds and cut edges. Background colour or photographs can extend through the bleed and wrap areas. Keep essential design elements within the marked safe zones.
Use this practical preflight sequence before exporting:
- Confirm the finished page size and the supplied bleed settings.
- Extend edge-to-edge photographs, colours and textures beyond trim lines.
- Keep text and page numbers inside the safe area.
- Check that no important image detail sits near a fold or cut.
- Export the PDF with bleed, then review every page and cover panel.
Watch for white gaps at corners, inconsistent background edges and images that stop at the trim line. In a photo book, inspect each full-bleed spread at actual size; in a text-led book, check page numbers and running headers near the margins. If the supplied template changes, update the artwork before exporting again. A clean file helps keep the printed result aligned with the approved design. For a project requiring hardcover book printing, prepare interior and cover files against their separate templates.
Cover spread and spine setup
A hardcover cover spread combines the back cover, spine and front cover in one layout. Its dimensions depend on the finished book size, page block thickness and cover construction. Set up the file from the production template: a spine calculated for different paper or page details may misalign the design.
Build the spread from the template
Start with the approved template showing the front, back, spine, folds and outer edges. Keep its guides on a separate, non-printing layer where your design software allows. For an English-language book, place the back cover on the left and the front cover on the right. Leave the marked spine area between them instead of estimating its width by eye.
Spine width changes with the page block. Paper thickness and final page count affect how much space the book needs, so revising the interior can change the spine dimensions. Use the width supplied for the final specifications. If the page count or paper changes, generate a new template before adjusting the artwork. Stretching the original spread can distort the cover proportions.
Position titles and artwork
Keep the spine title, author name and any small mark within the designated safe area. Text close to a fold can shift onto the front or back during covering. Choose lettering that remains readable at the actual spine width. If the spine is narrow, a short title may work better than squeezing in a subtitle and extra graphics.
Check the complete layout as a single spread. A photograph crossing from the back, over the spine and onto the front should align at each transition. Avoid placing a face, logo or key detail directly across a fold. For a geometric pattern, extend background elements into the required wrap area, while keeping essential content away from edges and hinges.
Review the export before approval
Before exporting, compare the artwork with the latest template. Confirm that the front and back panels are correctly oriented, spine text reads in the intended direction and no guide layer will print. Inspect the exported PDF at full size. Check that fonts render correctly and images stay sharp across panel boundaries.
- Use the template for the final page block and cover specifications.
- Keep titles and logos within the marked safe zones.
- Check alignment across the back, spine and front.
- Rebuild the spread if the page count or paper changes.
- Review the final PDF for orientation, folds and unwanted guides.
A landscape photograph spanning all three panels, for example, needs careful placement around the spine. A small shift can interrupt a horizon or divide a subject. Review those joins in the exported file, not just on the design canvas. A correctly prepared spread gives the cover artwork a clear path from layout to finished book.
What is a dust jacket, and how do I create one?
A dust jacket is a removable printed wrapper around a hardcover book. It covers the front, spine and back, with folded flaps tucked inside the covers. The front can carry the title, the back a summary and the flaps author details. Unlike printed cover boards, the jacket is a separate paper component.
Plan the jacket panels
Start with the finished book dimensions and the production jacket template. The layout usually contains five areas: back flap, back cover, spine, front cover and front flap. Their width depends on the book’s trim size, spine and board dimensions. Don’t estimate these measurements from a screen mock-up. Use the production template, because a small mismatch can shift folds or leave an edge exposed.
Give each panel a clear purpose. Put the title and main image on the front, then a concise description or endorsement on the back. The front flap can introduce the author, while the back flap can carry a longer biography or publication details. For a Johannesburg travel book, a short author note could sit on one flap, with a city photograph across the front.
Prepare artwork and folds
Create the artwork in a separate jacket file rather than adding it to the interior PDF. Follow the template’s fold, trim and bleed guides. Extend background colour or images through the required bleed, and keep essential text away from folds and cut edges. A fine line placed exactly on a fold may look uneven after wrapping, so move decorative rules into a panel.
Check image placement across the spine. A landscape spanning the back and front covers may not align if the spine width changes. Keep faces, logos and text clear of the spine joins. Use the approved spine measurement, then reposition the image if the page block specifications change. The title should remain readable when the book is closed and viewed on a shelf.
- Use the final book specifications to select the correct template.
- Place the front, spine, back and both flaps in their marked panels.
- Keep important text inside safe areas and away from folds.
- Extend backgrounds through the template’s bleed areas.
- Review the exported jacket PDF at full size before approval.
Before approving the file, inspect the jacket as a flat spread and as a folded mock-up. Check that the spine title is centred, flap text remains upright and no guides appear in the artwork. A paper mock-up can reveal awkward folds or a crowded flap that looks fine on screen. For hardcover book printing, treat the jacket as its own finished component, not as an extra layer in the cover-board file.
Page-count limits by paper and binding
Page count affects a hardcover book’s thickness, weight and construction. The practical limit depends on paper bulk, book size and binding method.
Page Limits by Binding
There’s no single page-count limit that applies to every book. Thick paper creates a bulkier book than lighter paper with the same number of pages. Binding must accommodate the finished block while allowing the book to open and close properly. Decide page count alongside paper choice and trim size, rather than treating it as a separate decision.
A photo book with substantial paper, for example, can become thick with fewer pages than a text-led book using lighter stock. As the page block grows, the spine width changes too, affecting the cover layout. Production specifications determine the workable page range for the selected materials and binding. Keep the final page count consistent across the interior file and cover setup.
Page count also depends on how the content is arranged. Blank pages, section openers and end matter all contribute to the total. A manuscript with an odd number of pages may need an extra page to complete the layout. Finalise chapter breaks and image spreads before preparing the print file, so late additions don’t change the block thickness or spine.
Hardcover Binding Options
Hardcover books use rigid cover boards joined to an interior text block. The text block can be assembled using different binding approaches, including sewn sections or adhesive binding. The choice affects how the book opens, how its pages are held and how the spine is formed. Match the construction to the book’s thickness and expected use.
A frequently used reference book has different demands from a short-run presentation volume. Sewn sections join folded groups of pages, while adhesive binding holds pages together along the spine edge. The method affects production setup and how the book opens. Confirm the binding choice before finalising pagination, since a change in construction can affect the spine and cover dimensions.
- Choose paper and finished size before locking the page count.
- Include blank pages and section dividers in the final total.
- Keep the cover spread aligned with the approved text-block thickness.
- Review how the chosen binding suits the book’s intended use.
For a final production plan, align the paper, binding and page count before approving the cover artwork. This keeps the book block and spine specifications in step.
Print It ZA print and packaging
Print It ZA produces books and supports your project from production planning through to print. If you’re weighing paper, binding, cover artwork or page count, its team can help you work through the decisions that shape a cohesive result. Share your intended format and prepared files to get the project moving.
Print It ZA also produces catalogues, brochures and retail packaging. This range can help when a book forms part of a wider set of printed materials, such as a catalogue and matching brochure. For a focused book project, keep the approved specifications and artwork aligned before production.
Contact Print It ZA print and packaging to discuss your book project.
Turn your book concept into a clear production plan
Bring the creative vision and production decisions together in a brief. Define the book’s purpose, intended readers and the feel you want from the finished piece. Then consider how its presentation can support that purpose, whether it’s a keepsake, a story to share or a polished business publication. A focused brief gives your hardcover book printing project a practical starting point and keeps creative choices connected to the result you want.
Print It ZA produces books, catalogues and brochures, supporting projects where a book sits alongside other printed materials. Share your direction and the role each piece needs to play. This can help shape a joined-up approach to the print project.
Ready to move from concept to planning? Contact Print It ZA print and packaging to discuss your project. Your idea can take shape one considered decision at a time.
Frequently Asked Questions
Can I order samples?
A physical sample can help you assess how the paper, colour and cover feel together. For a hardcover book printing project, use a sample to judge details a screen preview can’t show, such as how the book opens or how a finish reflects light. Choose pages that represent the final book, including image-heavy spreads if your design contains them.
How do I design my files?
Build the interior at the final page dimensions and keep its layout consistent throughout. Use clear styles for chapter titles, body text and page numbers. Prepare the cover as a separate file, with its panels arranged for the finished book. A cookbook, for example, may need space for image captions that a text-led novel doesn’t.
How much does a hardcover book cost to print?
The total depends on the book’s specifications and production scope. Dimensions, page count, paper, colour coverage, binding, finishing and quantity all influence the work involved. A short text-led book and a large, full-colour photo book have different requirements. Set out these choices in a project brief so the quotation reflects the format you want to produce.
What is hardcover book printing and how does the process work?
Hardcover book printing produces a book with rigid outer covers and a printed interior. The process starts with the agreed format and final artwork, then moves through file preparation, proof review, printing and binding. For example, an author supplies a paginated manuscript and cover design for production preparation. Reviewing the proof helps catch layout or content changes before printing.
What are the steps to prepare a book file for hardcover printing?
Finalise the manuscript, choose the finished page size and organise the content before exporting. Check that chapter openings, page numbers and blank pages appear as intended. Prepare the cover separately from the interior, then review both exported PDFs for missing fonts, clipped text and incorrect page order. Keep a clearly named final version of each file to prevent outdated artwork being used.
What are the standard hardcover book sizes and binding options?
There’s no single size suited to every title. A compact novel, an illustrated children’s book and a large-format photo book have different layout needs. Common construction approaches include sewn sections and adhesive binding; the right choice depends on the book’s intended use and page block. Set the dimensions and binding approach before finalising the artwork, since both affect the finished book’s construction.
How much does printing a hardcover book cost in South Africa?
Printing costs in South Africa vary with quantity, dimensions, page count, paper, colour and finishing choices. Delivery arrangements can also form part of the production scope. A useful brief describes the intended audience, format and approximate quantity, along with the artwork’s current status. These details help define the work needed for your book, rather than relying on a generic estimate.
Which South African printers offer hardcover books, and what are their minimum order quantities?
Print It ZA produces books, including hard cover books. Minimum order quantities depend on the production method and project specifications, such as format, page count and finishing. Include your planned quantity and book requirements in the project details. This gives the production plan a clear basis and helps align the print method with the intended run.