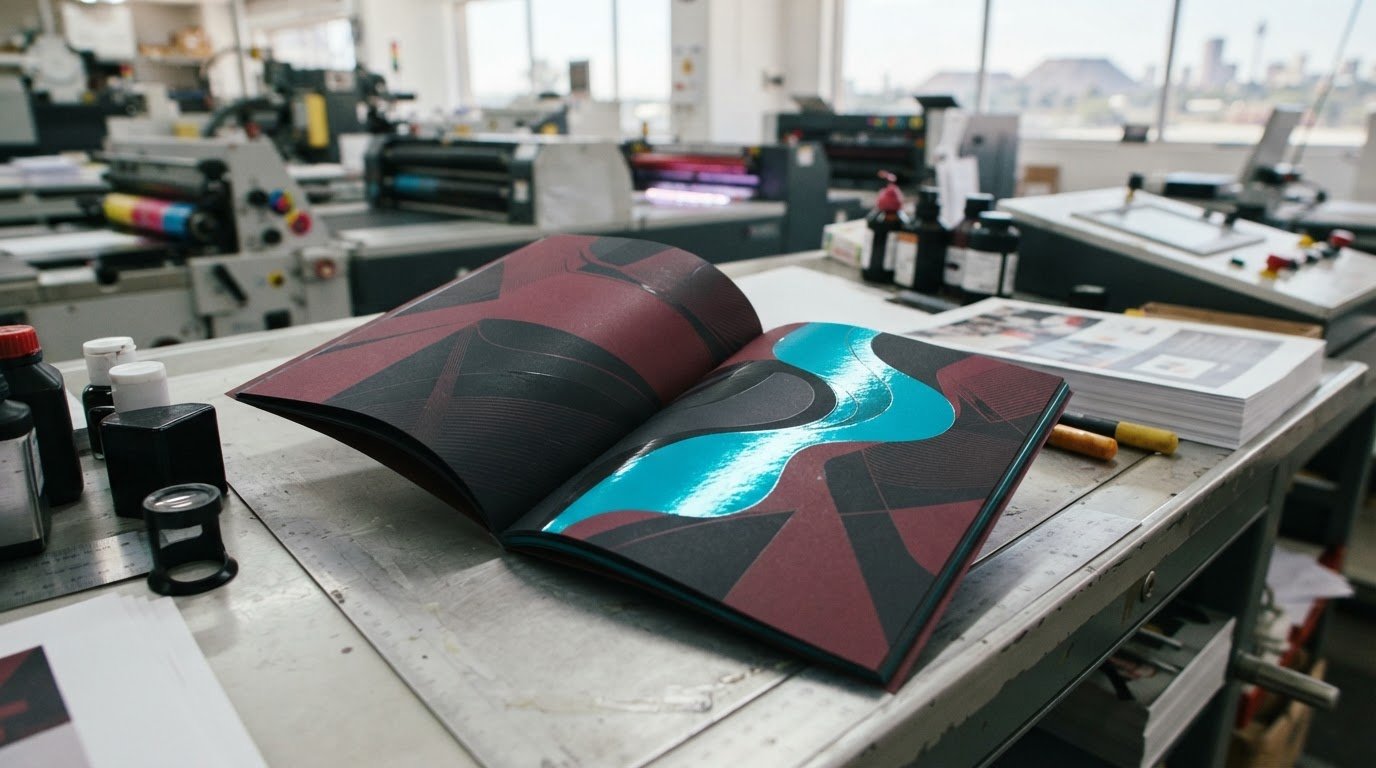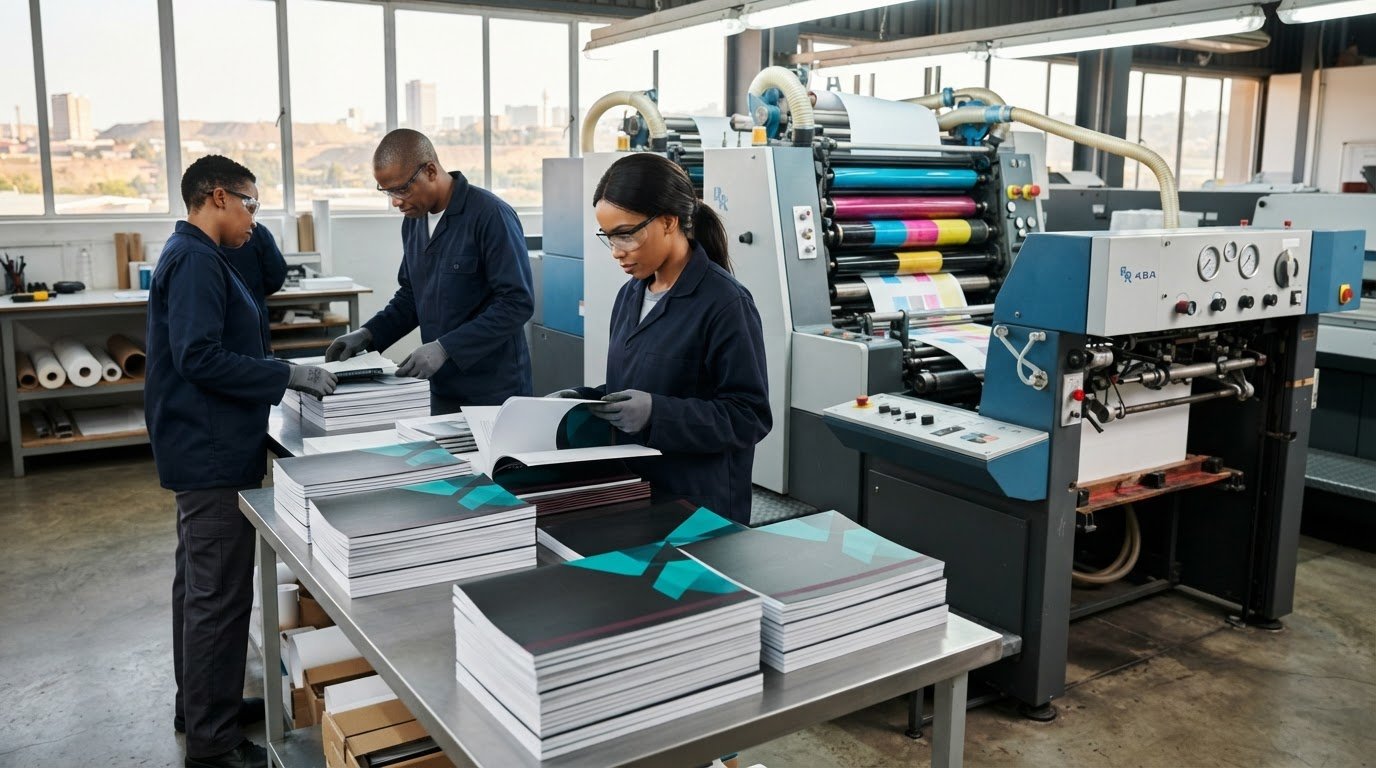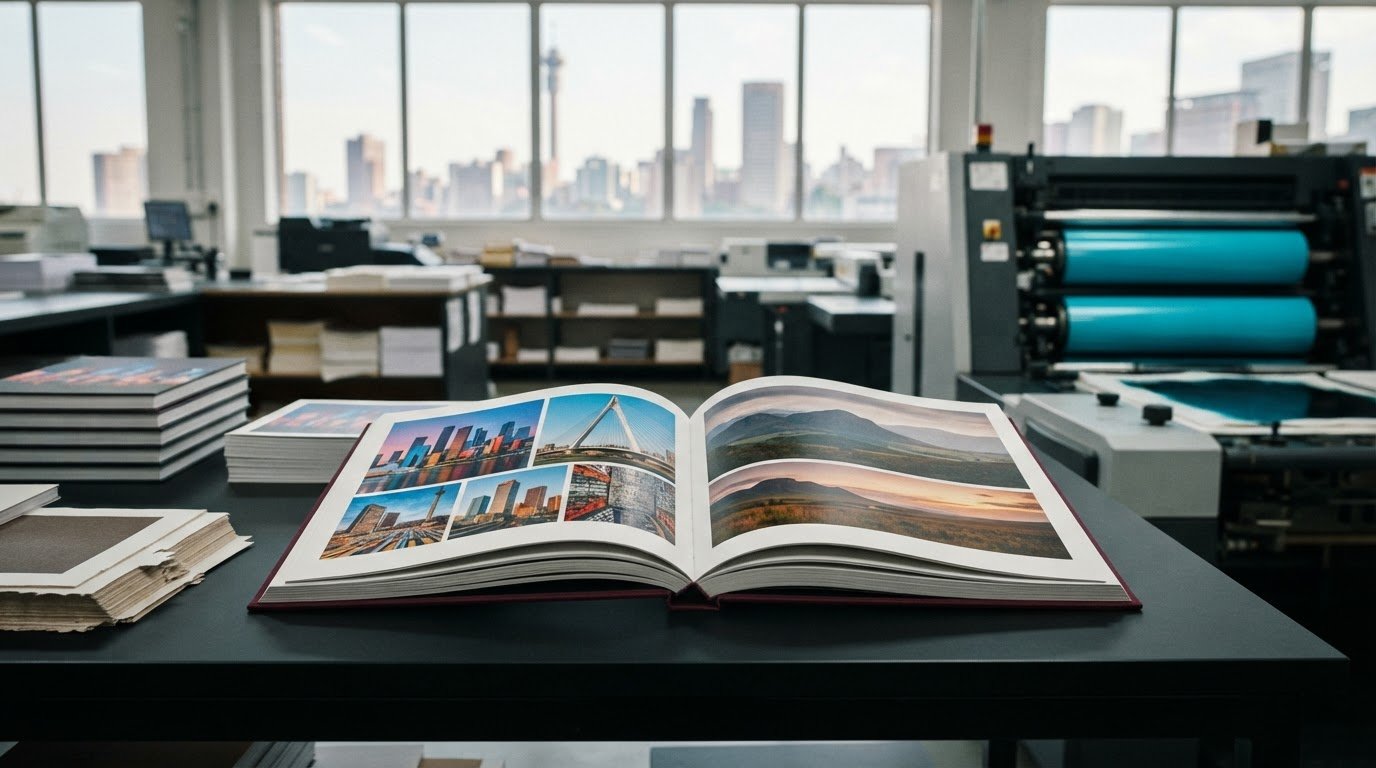
What if packaging that looks right on screen doesn’t protect the product or work smoothly when it’s time to pack it? Choosing die-cut packaging solutions means balancing product fit, structure and brand presentation from the start. A polished design file still needs careful planning to become a practical, production-ready pack.
This guide will help you assess your product’s needs, choose a suitable packaging format and prepare a clear brief for design and production. You’ll also learn how material, print and finishing choices affect the final result, so you can compare options with greater confidence.
We’ll cover the key decisions, from how the pack holds and presents your product to how it will be printed and produced. Print It ZA print and packaging brings structural design, prototypes, die-cutting and litho and digital printing together, with in-house design support from creative development to delivery. Whether your project is in Johannesburg, elsewhere in Gauteng or another part of South Africa, these steps can help you brief it clearly.
Key Takeaways
- Understand how a custom cut can shape a pack around a product, while standard formats may suit other packaging needs.
- Use product dimensions and packing context to guide the structure, then review a prototype before print preparation.
- Compare die-cut packaging solutions by fit, presentation, assembly and intended use.
- Prepare a focused project brief with measurements, brand assets, print requirements and delivery details.
- See how coordinated design, prototyping, die-cutting and print production can take a packaging project from concept to finished pack.
What makes die-cut packaging solutions different from standard boxes?
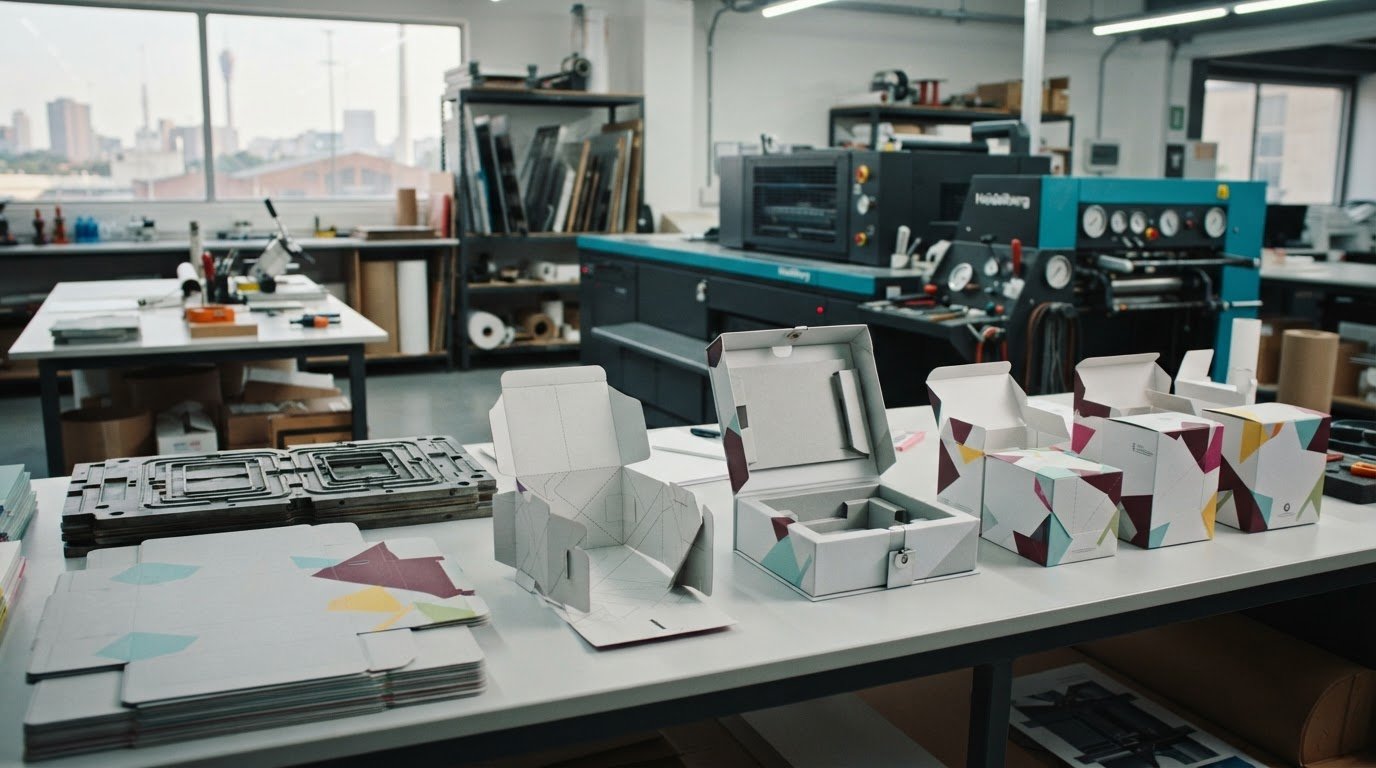
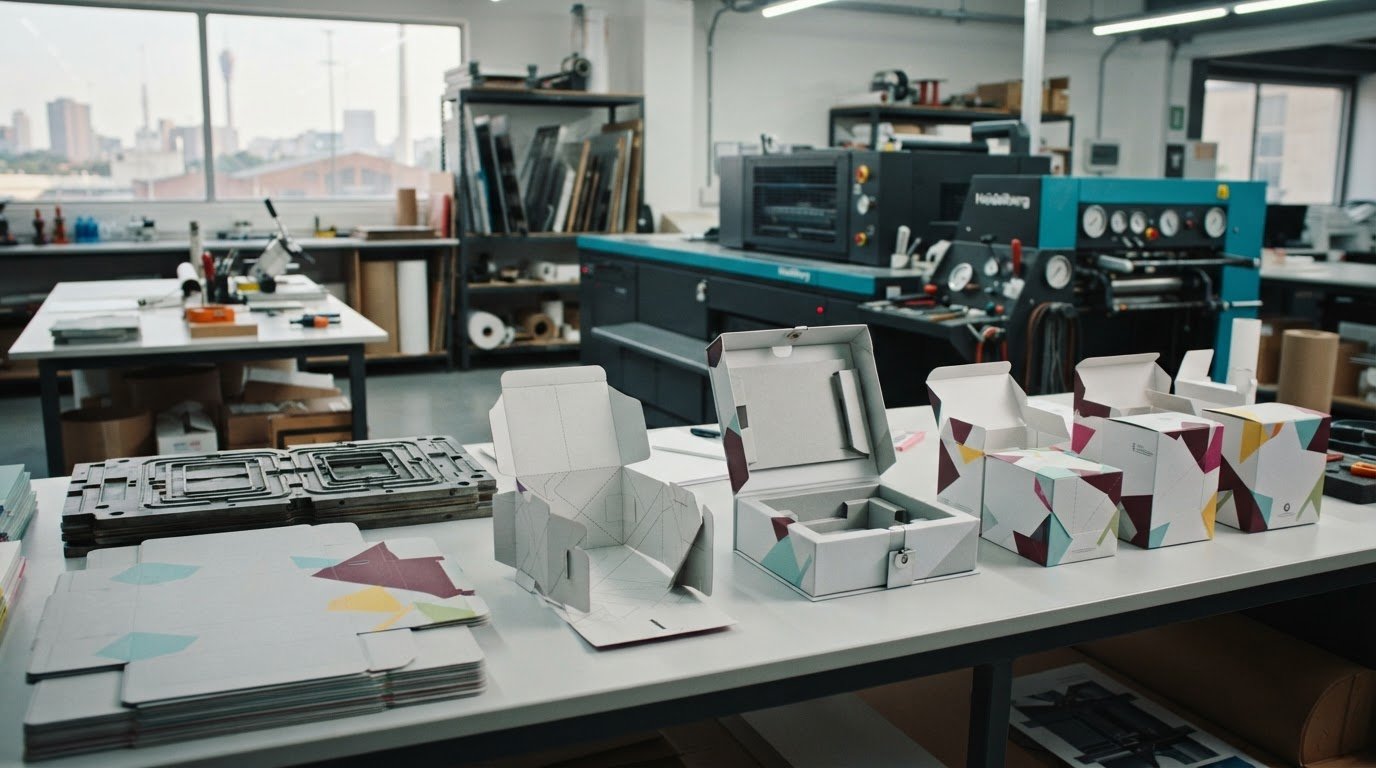
Die-cut packaging is cut to a planned shape so its panels, openings and folds form a specific pack. A cutting die follows the design’s outlines, turning flat packaging material into a structure that can be folded and assembled. This process can create features such as shaped edges, display windows and tabs. For an overview of die-cutting methods and applications, see Die cutting (web).
A standard box uses an established shape that can suit a range of products. A bespoke die-cut pack is developed around particular product dimensions, packing needs or presentation goals. Neither is automatically the better choice. A familiar box may work well for a straightforward packing job, while a custom-cut structure may suit an unusual product shape or a display that makes the product more visible. The right option depends on what the packaging needs to do.
Shape affects more than appearance. Internal space and panel placement influence how the product sits in the pack. Folds and closures affect assembly, while the outside surfaces provide room for brand elements and product information. These details also influence how a pack is picked up, opened and handled. A good structure brings practical use and presentation together.
Which product and brand needs suit a custom-cut pack?
Retail products, promotional items and other packaged goods can each call for a different approach. Start with the product: note its dimensions and shape, and how it needs to be placed into or removed from the pack. Those functional requirements help guide the pack’s footprint, depth and openings.
Then separate what the pack must do from what the brand wants it to communicate. Fit, access and a straightforward packing process are functional considerations. A distinctive outline, visible product area or emphasis on a printed panel may support presentation. Keeping these priorities clear helps the design serve the product without letting decorative choices get in the way of use.
What can a die-cut design change about the customer experience?
Openings and shaped panels can show part of a product before the pack is opened, while folds and flaps influence how it is revealed. These choices can make the first interaction feel considered, but they should also suit how the pack is handled. An opening that looks striking on a mock-up still needs to be practical to assemble and use.
Think through the experience in order: how the pack is formed, how the product goes in, how it is carried or displayed, and how it opens. This can reveal awkward folds or hard-to-reach closures before the design is finalised. Structural design and prototype review let the team assess the shape in practice. A cut-out or panel alone does not establish how well a pack will protect its contents. That depends on the product, material and appropriate testing.
For businesses in Johannesburg and Gauteng, Print It ZA brings structural design, prototypes, die-cutting and packaging production into a connected process. Its in-house design team can develop a pack with product requirements and printed presentation in view, helping turn a concept into a workable packaging design.
How die-cut packaging moves from product requirements to a production-ready design
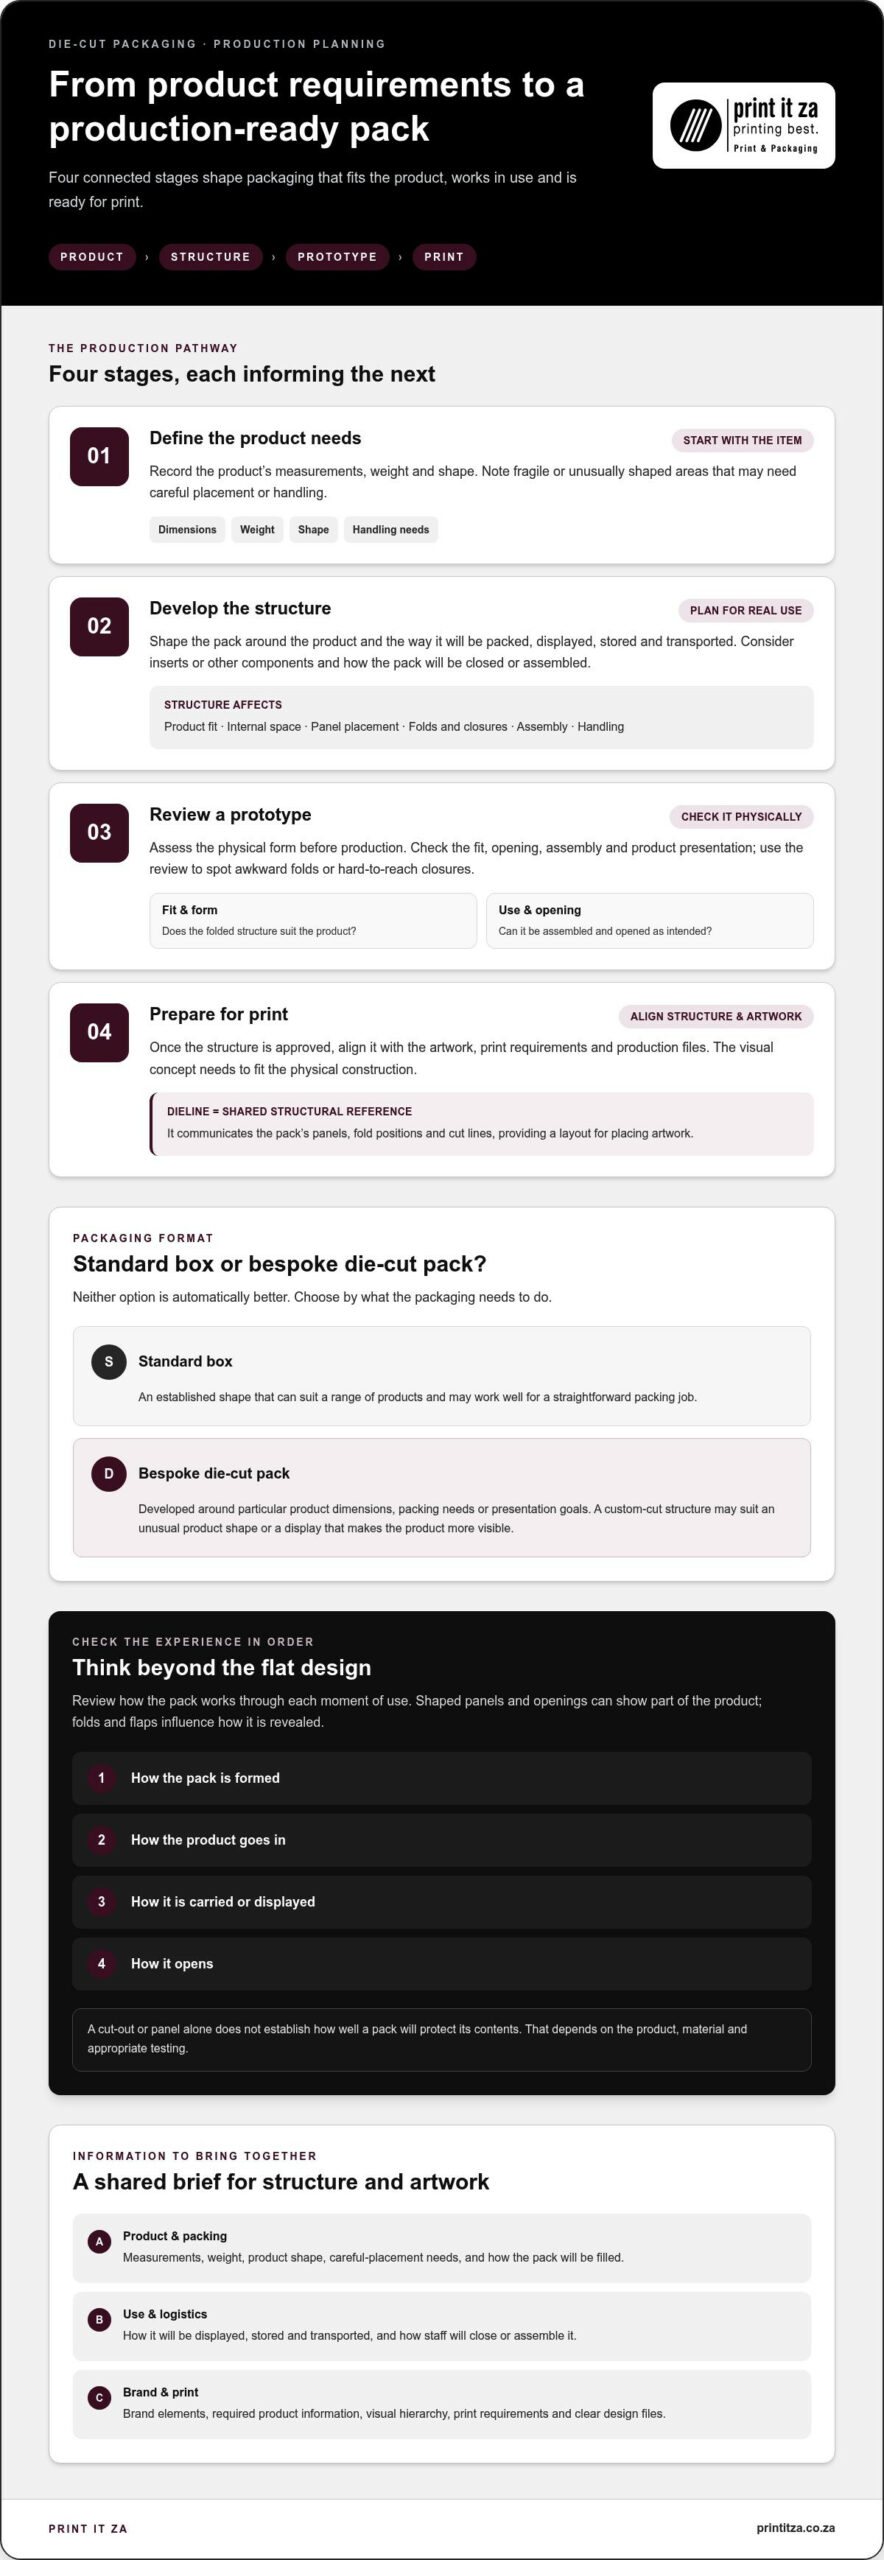
A production-ready pack starts with a clear picture of the product and how the packaging will be used. From there, the structure can be developed, reviewed as a prototype and prepared for print. Each stage informs the next. If product dimensions or packing steps change late in the process, the structure and artwork may need to change too.
Think of the project as a sequence:
- Define the product needs: Record measurements, weight, shape and any fragile or unusually shaped areas.
- Develop the structure: Plan the pack around the product and how it will be packed, displayed, stored and transported.
- Review a prototype: Check the physical form, fit, opening and assembly before moving ahead.
- Prepare for print: Align the approved structure with artwork, print requirements and production files.
Measurements should reflect the actual product and intended packing process, not just an approximate size. Consider how the item will be placed in the pack, whether it needs room for inserts or other components, and how staff will close or assemble it. These details help inform the design. A structure that looks suitable in a flat drawing still needs to work once folded and used.
A dieline is the layout that communicates the pack’s panels, fold positions and cut lines. It gives the design and production teams a shared structural reference, showing where the packaging will be cut and folded. Artwork is positioned against this layout, so clear panel boundaries and accurate design files matter. At this handover point, the visual concept needs to fit the physical construction.
What information helps shape the structural design?
Bring together practical and visual requirements before development begins. Alongside product measurements and weight, note any areas that need careful placement or handling. Describe how the pack will be filled, displayed, stored and transported. Then list brand elements, required product information and the visual hierarchy, such as which message should be most prominent. This gives the structure and artwork a shared brief to follow.
Why review a prototype and artwork before production?
A prototype lets you assess the packaging concept in physical form before production, including its fit, opening, assembly and product presentation. Use the review to spot awkward folds, difficult access or artwork that may fall across a crease. Check printed elements against the dieline and confirm that each panel carries the intended content. Keep changes, comments and approval decisions documented at each stage, so the design team and production team are working from the same approved version.
When structural design, prototyping, die-cutting and print are treated as connected parts of the project, the brief can move from product requirements towards finished packaging with fewer gaps between concept and production. If you’re preparing custom packaging for your product, a clear sequence of requirements and reviews gives the design team a practical starting point.
How to compare die-cut packaging options for fit, function and brand impact
Compare packaging against the job it needs to do, not just the shape or finish that catches your eye. A useful comparison looks at the product, the packing process and the customer-facing result together. The table below can help you weigh a familiar format against a bespoke structure without assuming one will always be more suitable.
| Consideration | Standard format may suit when… | Bespoke structure may suit when… |
|---|---|---|
| Product fit | The product works with an established shape and available dimensions. | The product’s shape, dimensions or placement call for a more tailored layout. |
| Presentation | A straightforward pack meets the display and brand requirements. | A distinctive outline, opening or panel layout supports the intended presentation. |
| Assembly | The format fits the existing packing routine. | A different structure better suits how the pack needs to be formed or filled. |
| Print needs | The available panels provide suitable space for brand elements and information. | A specific panel arrangement helps organise artwork or highlight key content. |
| Intended use | The pack’s established form aligns with how the product will be handled or displayed. | The product or use context calls for a purpose-developed shape. |
Use the table to identify where a format fits and where it creates a compromise. Attractive packaging can still be impractical if it makes filling awkward, obscures important information or complicates handling. A simple design can make a strong impression when it presents the product clearly and works smoothly in use. The goal is to balance visual impact with practical requirements.
When might a standard format work better than a bespoke structure?
An existing format is worth considering when the product suits its dimensions, the packing steps are simple and the presentation needs are clear. That can keep the design focused on artwork and information rather than a new structure. A bespoke shape becomes more relevant if the product has an unusual profile or the brand has a particular display goal. Assess the actual pack and workflow before deciding.
How should buyers think about board and print choices?
Board selection should respond to the structure’s requirements and the presentation you want, rather than being chosen separately from the design. Consider how the pack needs to hold its form and how its surface will carry the artwork. Print method matters too. Litho and digital printing are available options, and the suitable approach depends on the project’s artwork and production needs.
Review colour, artwork placement and finishing choices alongside the structure. A printed panel may cross a fold, or a prominent message may sit near a cut line, so the visual plan needs to work with the dieline. Treat die-cut packaging solutions as a joined-up choice: product fit, format, board and print all contribute to the finished pack.
What to include in a die-cut packaging project brief
A clear brief gives the design team a practical starting point and helps keep product requirements, brand priorities and production needs aligned. You don’t need a finished design. You do need to explain what the pack must do, what it should communicate and how it will be used. These details help shape die-cut packaging solutions around the project rather than assumptions.
Before a packaging design discussion, gather:
- Product details: Dimensions, shape, weight, quantity per pack and any fragile, protruding or unusually shaped areas.
- Use context: How the pack will be filled, assembled, displayed, stored, transported and opened.
- Brand assets: Current logos, brand colours, product imagery and any visual guidelines.
- Required content: Product name, copy and other information that needs to appear on the packaging.
- Print preferences: Desired colours, artwork priorities and any print or finishing requirements already identified.
- Project logistics: Intended quantity, delivery destination and key project milestones or approval stages.
Which product, packing and delivery details should the brief cover?
Describe the product as it will be packed, not just as it appears on a shelf. Include its dimensions, shape, weight and any handling considerations, such as parts that need careful positioning. Note where packing will take place, how the pack will be assembled, where finished packaging will be stored and the destination context. These details can influence structural choices and delivery planning.
State the intended quantity and important milestones, such as design review, prototype feedback or artwork approval. Milestones clarify how decisions will be made without implying a particular production schedule. If a requirement is still open, label it as a decision to resolve rather than leaving it out.
How can you prepare brand artwork and approval feedback?
Gather the latest logo files, brand colours, approved copy and product imagery in one place. Identify who will review the design and who has final approval, so feedback can be consolidated rather than arriving in conflicting rounds. Tie comments to clear priorities: for example, correct a required message first, then refine visual emphasis. Specific, ranked feedback helps resolve trade-offs between function and presentation.
Priorities are especially useful when not every preference can lead. If product access and clear information matter most, say so before discussing a decorative feature that could affect the layout. A useful brief separates essential requirements from preferences, giving the structural design and artwork a shared basis for decisions. For Johannesburg projects, a custom packaging project discussion can help turn those requirements into a coordinated design and production brief.
Develop die-cut packaging solutions with Print It ZA
A packaging project works best when product requirements, structure and print are considered together. Print It ZA brings structural design, prototypes, die-cutting and packaging production into one collaborative process. Its in-house design team supports projects from creative development through production and delivery, connecting the pack’s practical purpose with its printed presentation.
For businesses in Johannesburg and Gauteng, the conversation can begin with the product and the job the packaging needs to do. Share the product’s shape and use context, how it will be packed or displayed, and what you want customers to notice. These details give the design team a clear basis for developing a suitable structure and visual direction.
What can a collaborative packaging project look like?
The work can move from an initial discussion of product and brand needs into creative development, structural design and prototype review. Your feedback helps refine decisions about the pack’s form, presentation and use. Once the structure and artwork are ready to progress, die-cutting and packaging production bring the approved direction into a finished printed pack.
Each stage has a purpose. Product-use details inform the structure, brand priorities shape the visual treatment, and prototype feedback gives everyone a chance to review the concept before production. Keeping comments focused on agreed goals helps the team distinguish essential changes from optional refinements. It also makes the handover between design and production clearer.
Print choices are part of that joined-up planning. Depending on the project, litho or digital printing can be considered alongside the packaging design. Thinking about print during creative development helps the artwork and structure work as one, rather than treating the printed surface as an afterthought. The right approach is guided by the project’s requirements, not a one-size-fits-all assumption.
How can Johannesburg businesses take the next step?
Start with the information you already have. Bring together product details, packaging goals, brand assets and print requirements. If some decisions are still open, identify them as questions for the project discussion. A clear brief gives the team a useful starting point while leaving room to develop the structure and creative direction collaboratively.
Businesses planning broader print work can also use a professional printing services guide to consider how packaging fits alongside other printed materials. For businesses in South Africa, a creative production partner can connect design decisions to the practical needs of print and packaging production.
Print It ZA develops custom retail and product packaging from creative development through production and delivery. Share your product details, packaging goals and print requirements to discuss a bespoke packaging brief and explore the next steps for your project.
Make your next packaging decision with confidence
Your next pack can do more than hold a product. It can help customers recognise your brand, understand what’s inside and interact with the item more easily. Treat the first design conversation as a chance to define what success looks like in real use. Which detail should customers notice first? What should feel effortless when the pack is opened? Clear answers give creative decisions a practical direction.
With those priorities in mind, you can approach die-cut packaging solutions as a considered part of the product experience, not simply a shape on a page. A focused brief gives the project a strong starting point and makes it easier to weigh new ideas against what the packaging needs to achieve.
Ready to take the next step? Discuss your custom die-cut packaging project with Print It ZA and start turning your packaging goals into a clear creative direction.
Frequently Asked Questions
What are die-cut packaging solutions?
Die-cut packaging solutions are packs shaped by cutting and creasing material to create their form and features. The design can be tailored to a product’s dimensions and how it will be packed or presented. For example, an item with an unusual outline may need a different internal arrangement from a product that sits flat. Start with the actual item and intended use so the packaging concept has a practical purpose.
Can die-cut packaging be custom printed?
Yes, custom die-cut packaging can include printed artwork planned around its panels and folds. Print It ZA offers litho and digital printing alongside packaging services. For a consistent result, gather approved logos, colours and copy before artwork is prepared, and consider how each message will appear on the assembled pack. This helps align the printed design with the structure rather than treating branding as a separate final step.
How much do custom die-cut packaging solutions cost?
There isn’t one price that applies to every custom packaging project. The scope depends on factors such as the structure, material requirements, artwork, prototype work and production needs. A useful brief helps define those choices so the project can be discussed on its own terms. For a fair comparison, assess a bespoke pack against another option with similar specifications and intended use, rather than comparing unlike formats.
Are die-cut boxes suitable for shipping products?
They can be designed for shipping, but suitability depends on the product, the packaging structure and the handling conditions. Consider the journey from dispatch to receipt, including how the item will be packed and handled along the way. If the product is fragile or has parts that need careful placement, include those details in the project brief. A design should be assessed for the specific use, not assumed to provide a particular level of protection.
What is a dieline for packaging?
A dieline is a flat packaging layout that indicates where material is cut and folded. It guides how artwork sits across the pack’s panels and helps reveal potential layout issues, such as text crossing a fold or landing too close to a cut edge. Treat it as a structural reference as well as an artwork guide. Check that the version being reviewed matches the intended packaging design before approving files.
Can a packaging prototype be changed before production?
Yes, a prototype review is an opportunity to identify changes before production approval. Check how the pack fits the product, opens and assembles, then review whether the artwork appears as intended on the formed structure. Combine feedback from relevant decision-makers and separate essential corrections from optional refinements. The number and scope of revisions depend on the project, so document agreed changes clearly as the design develops.
What should I send when requesting a die-cut packaging quote?
Share the product’s dimensions, shape, weight and intended use, along with the quantity you’re planning and any delivery requirements. Include current brand assets, required copy, print preferences and reference images if they clarify the desired result. Print It ZA works with businesses in Johannesburg and Gauteng on packaging projects, supporting development from creative input through production. A focused brief gives the team a clear basis for discussing the project.