What if the most polished brochure finish is the one you use sparingly? UV spot varnish for brochures can draw attention to a logo, headline or image, but applying it everywhere may compete with the message. The finish should support the brochure’s purpose, not distract from it. Start by deciding what you want readers to notice, then consider whether a selective gloss effect will help.
This guide explains where spot UV can add impact, how it compares with finishes such as lamination and foil, and what to consider when preparing artwork. You’ll learn why the separate varnish mask, paper stock, print method and proofing all matter. Print It ZA produces brochures using lithographic and digital printing and offers in-house design support, helping bring the design and production plan together.
Key Takeaways
- Choose UV spot varnish for brochures when a specific detail needs to stand out, rather than treating the finish as decoration across every page.
- Compare spot UV with overall gloss, matte lamination and foil to match the finish to the brochure’s visual direction and purpose.
- Plan a separate varnish mask and review how highlighted areas sit around folds, trim and small details.
- Use proofing and production planning to align artwork, stock and print method before the brochure goes to press.
- Build a clear brief around your audience, quantity and distribution needs so design and finishing decisions work together.
What UV Spot Varnish for Brochures Does, and When It Makes Sense
UV spot varnish for brochures is a clear coating applied to selected parts of a printed page and cured using ultraviolet light. Unlike an overall coating, it leaves some areas untreated. The difference in surface appearance can direct a reader’s attention. For a general overview of UV coating and its use in printing, see this reference.
The finish works best when it has a clear purpose. A glossy logo on a restrained background can make a brand stand out before readers move on to the brochure’s key information. A highlight on a product image can draw attention to a feature that supports the sales message. The aim isn’t to make every part of the page compete for notice. Use the coating to establish a focal point within the reading order.
How does spot UV create contrast on a brochure?
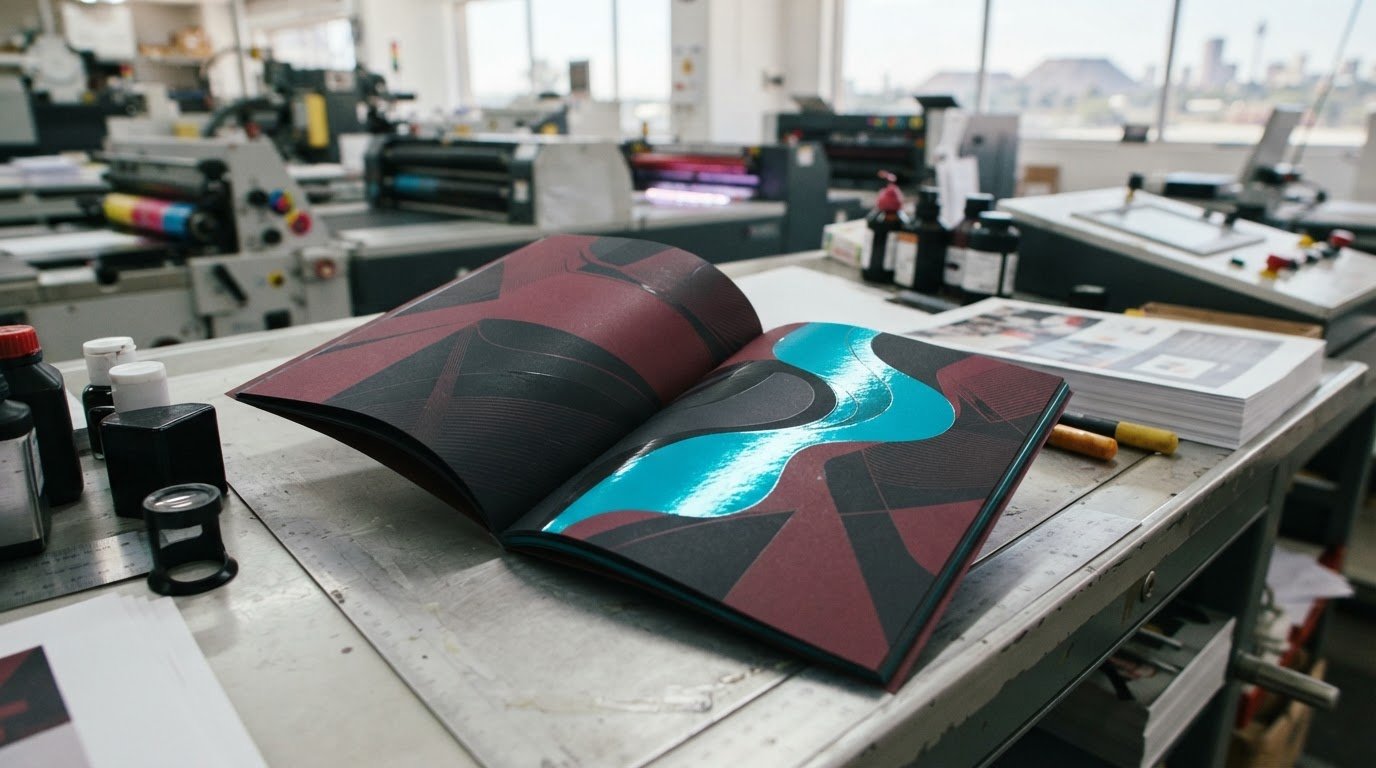
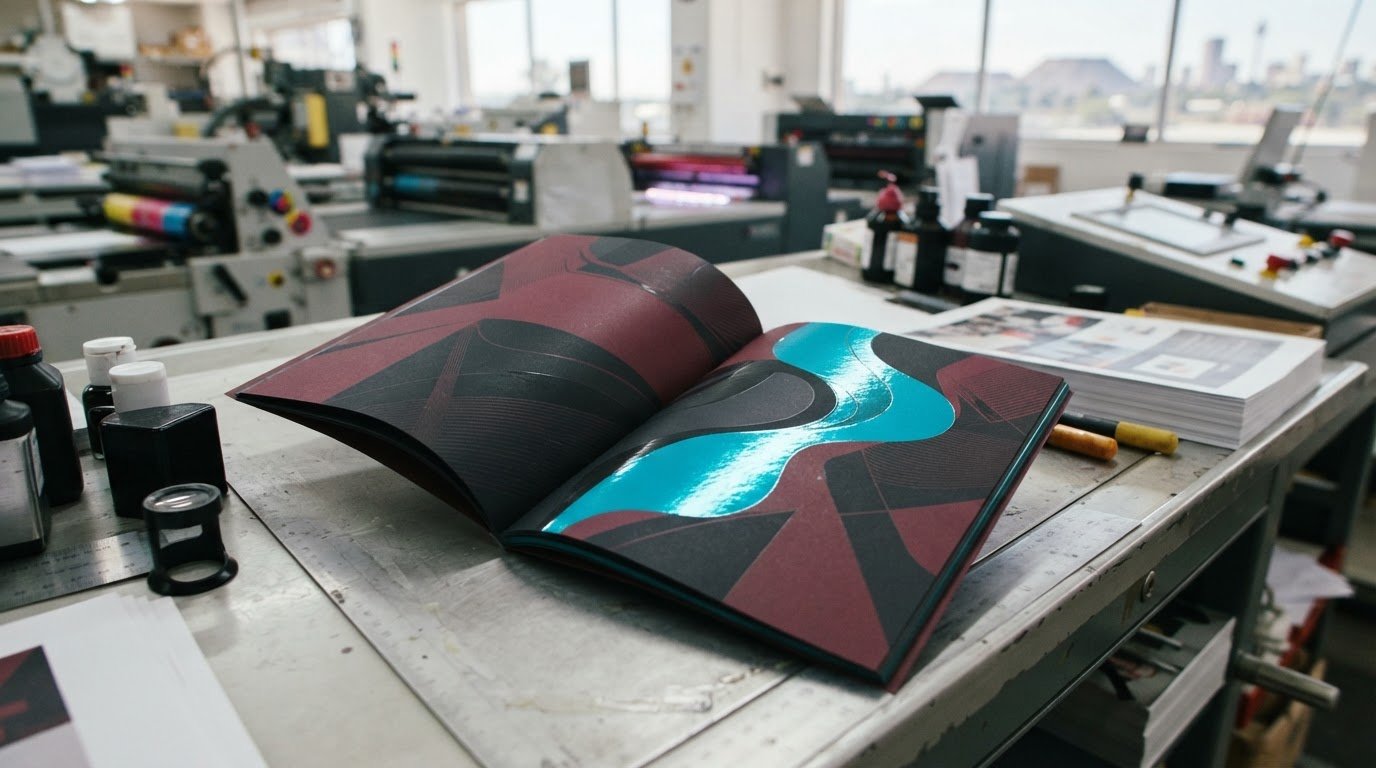
The varnish follows designated areas in the artwork rather than covering the entire sheet. Those treated areas can appear glossier than the surrounding surface, so the difference catches the eye as the brochure is viewed or tilted in the light. The effect depends on the design and the finish around it. A small gloss logo against a quieter background can feel distinct without taking over the page.
Plan the reading sequence: what should a reader see first, next and last? If the brochure introduces a service, a highlighted brand mark may establish identity while the heading and body copy carry the main message. The spot treatment should reinforce that sequence, not interrupt it.
Which brochure details are worth highlighting?
Start with the brochure’s purpose and audience. A corporate profile may benefit from subtle emphasis on its logo, while a product brochure might use the finish on one image detail that helps explain the product’s appeal. A carefully chosen heading detail can also create emphasis, provided it remains easy to read.
Before marking areas for varnish, ask what each one contributes:
- Logo: Does the highlight make the brand easier to notice?
- Image detail: Does it draw attention to something relevant to the offer?
- Heading detail: Does it strengthen the message without making text harder to read?
If several elements all demand attention, the eye has no clear place to land. Keep the treatment purposeful and give the main message room to lead. Tiny decorative details may lose impact or look visually fussy, so favour shapes that remain clear at the brochure’s printed size.
Connect the finish to a communication goal: introduce a brand, spotlight a product or make a key idea stand out. That decision gives the design a practical direction and makes the varnish feel like part of the message rather than an extra layer added for decoration.
How UV Spot Varnish Is Planned and Applied to Brochures
A polished result starts well before finishing. For UV spot varnish for brochures, the design and production teams need to know which areas receive the coating, how the brochure will be printed and finished, and how its pages will fold. Treat these as connected decisions, not separate steps. A clear brief helps turn the visual idea into artwork that can be reviewed and produced accurately.
A practical workflow moves through five stages:
- Brief: Define the brochure’s purpose, audience and intended focal points.
- Design: Position those highlights within the page layout and reading order.
- Varnish artwork: Identify the selected areas separately from the full-colour design.
- Production review: Review the artwork alongside the chosen paper, inks, folds and finishing.
- Finishing: Apply the coating to the designated areas as part of the planned production process.
This review matters because the printed surface and selected stock influence the finished look. Folds and trim also affect where a highlight can sit without crossing an edge or landing awkwardly at a crease. Assess the substrate, artwork and finishing combination together during project planning.
What artwork does the printer need for spot UV?
The varnish areas must be identifiable independently of the printed design. A common workflow uses a separate spot-colour plate or layer as a mask: solid shapes indicate where coating is intended, while unselected areas remain clear. This separate spot-varnish layer maps the exact coating locations, stays distinct from the full-colour print file and is reviewed against the final page layout before output. Naming, colour convention and file setup can vary by project, so use the specifications established for the job.
For a useful overview of artwork preparation and common pitfalls, see How To Do Spot UV Printing. Use such guidance as a starting point, then apply the setup agreed for your brochure. A mask that looks clear on screen still needs to align with the final design and page size.
Why do paper and finishing choices matter?
Paper and surface treatments shape the contrast and overall impression of varnished areas. A finish intended to look crisp on one stock may not create the same effect on another, so assess the design as part of its production plan. Print method, ink choices and finishing sequence also belong in the review, particularly if the design depends on a precise visual relationship between printed colour and coating.
Check fold lines and trim boundaries against the varnish artwork. A highlight that straddles a fold or sits too close to a cut edge may look unintentional in the finished brochure. Mark these boundaries clearly in the layout, and review the proof as a complete folded piece, not just as flat artwork. Print It ZA’s in-house design support can help align a visual concept with production planning. Explore brochure design and print support as you shape the brief.
Spot UV vs Other Brochure Finishes: Which Effect Fits Your Brief?
A finish should help the brochure communicate. The right choice depends on what readers need to notice, how the design guides them through the information and how the selected stock and finishing work together. Use this comparison to narrow the options, then assess them against the complete design.
| Finish | Coverage and visual emphasis | Tactile impression | Useful design purpose |
|---|---|---|---|
| Spot UV | Applied to selected areas, creating contrast with the surrounding surface. | A distinct coated feel on the highlighted details. | Direct attention to a logo, image feature or selected design element. |
| Overall gloss | Covers the broader printed surface, so the effect is more consistent across the page. | A broadly coated surface. | Give the whole brochure a cohesive glossy look rather than isolating one focal point. |
| Matte lamination | Covers the surface with a more subdued visual effect. | A smooth laminated feel. | Create a restrained overall finish where a quieter presentation suits the content. |
| Foil | Creates a distinct metallic visual accent in selected areas. | A separate finishing treatment from a varnish coating. | Give a logo or design detail a metallic character when that supports the brand direction. |
When is selective UV more useful than an overall finish?
Selective UV makes sense when one or a few details deserve emphasis and the rest of the design should remain visually quieter. An overall finish treats a broader area, which can suit a design where consistency matters more than creating a single point of focus. Neither approach is automatically better. Consider whether your audience needs to find a particular feature quickly, and whether highlighting it strengthens the brochure’s purpose or interrupts its reading order.
For example, a product brochure could use spot UV to distinguish one image detail while leaving descriptions and specifications easy to scan. A brochure with a full-page, image-led design may call for a more consistent surface treatment instead. Compare finishes against the actual layout and planned production process rather than choosing from a sample description alone.
How does spot UV compare with foil or raised effects?
Foil and spot UV create different visual cues. Foil is a metallic treatment; spot UV uses a clear coating to mark selected areas. Choose between them based on the character you want the detail to convey and how it fits the overall design. A raised effect changes the tactile character as well as the surface impression, so it needs its own artwork and production consideration rather than being treated as another name for standard spot UV.
Before settling on an option, ask: what should the reader notice, understand or remember? If the finish doesn’t help achieve that outcome, it may add visual noise instead of value. Match the effect to the message hierarchy, audience and artwork, then include the chosen finish in production planning so the brochure feels intentional from page to page.
Prepare Brochure Artwork for UV Spot Varnish: A Practical Checklist
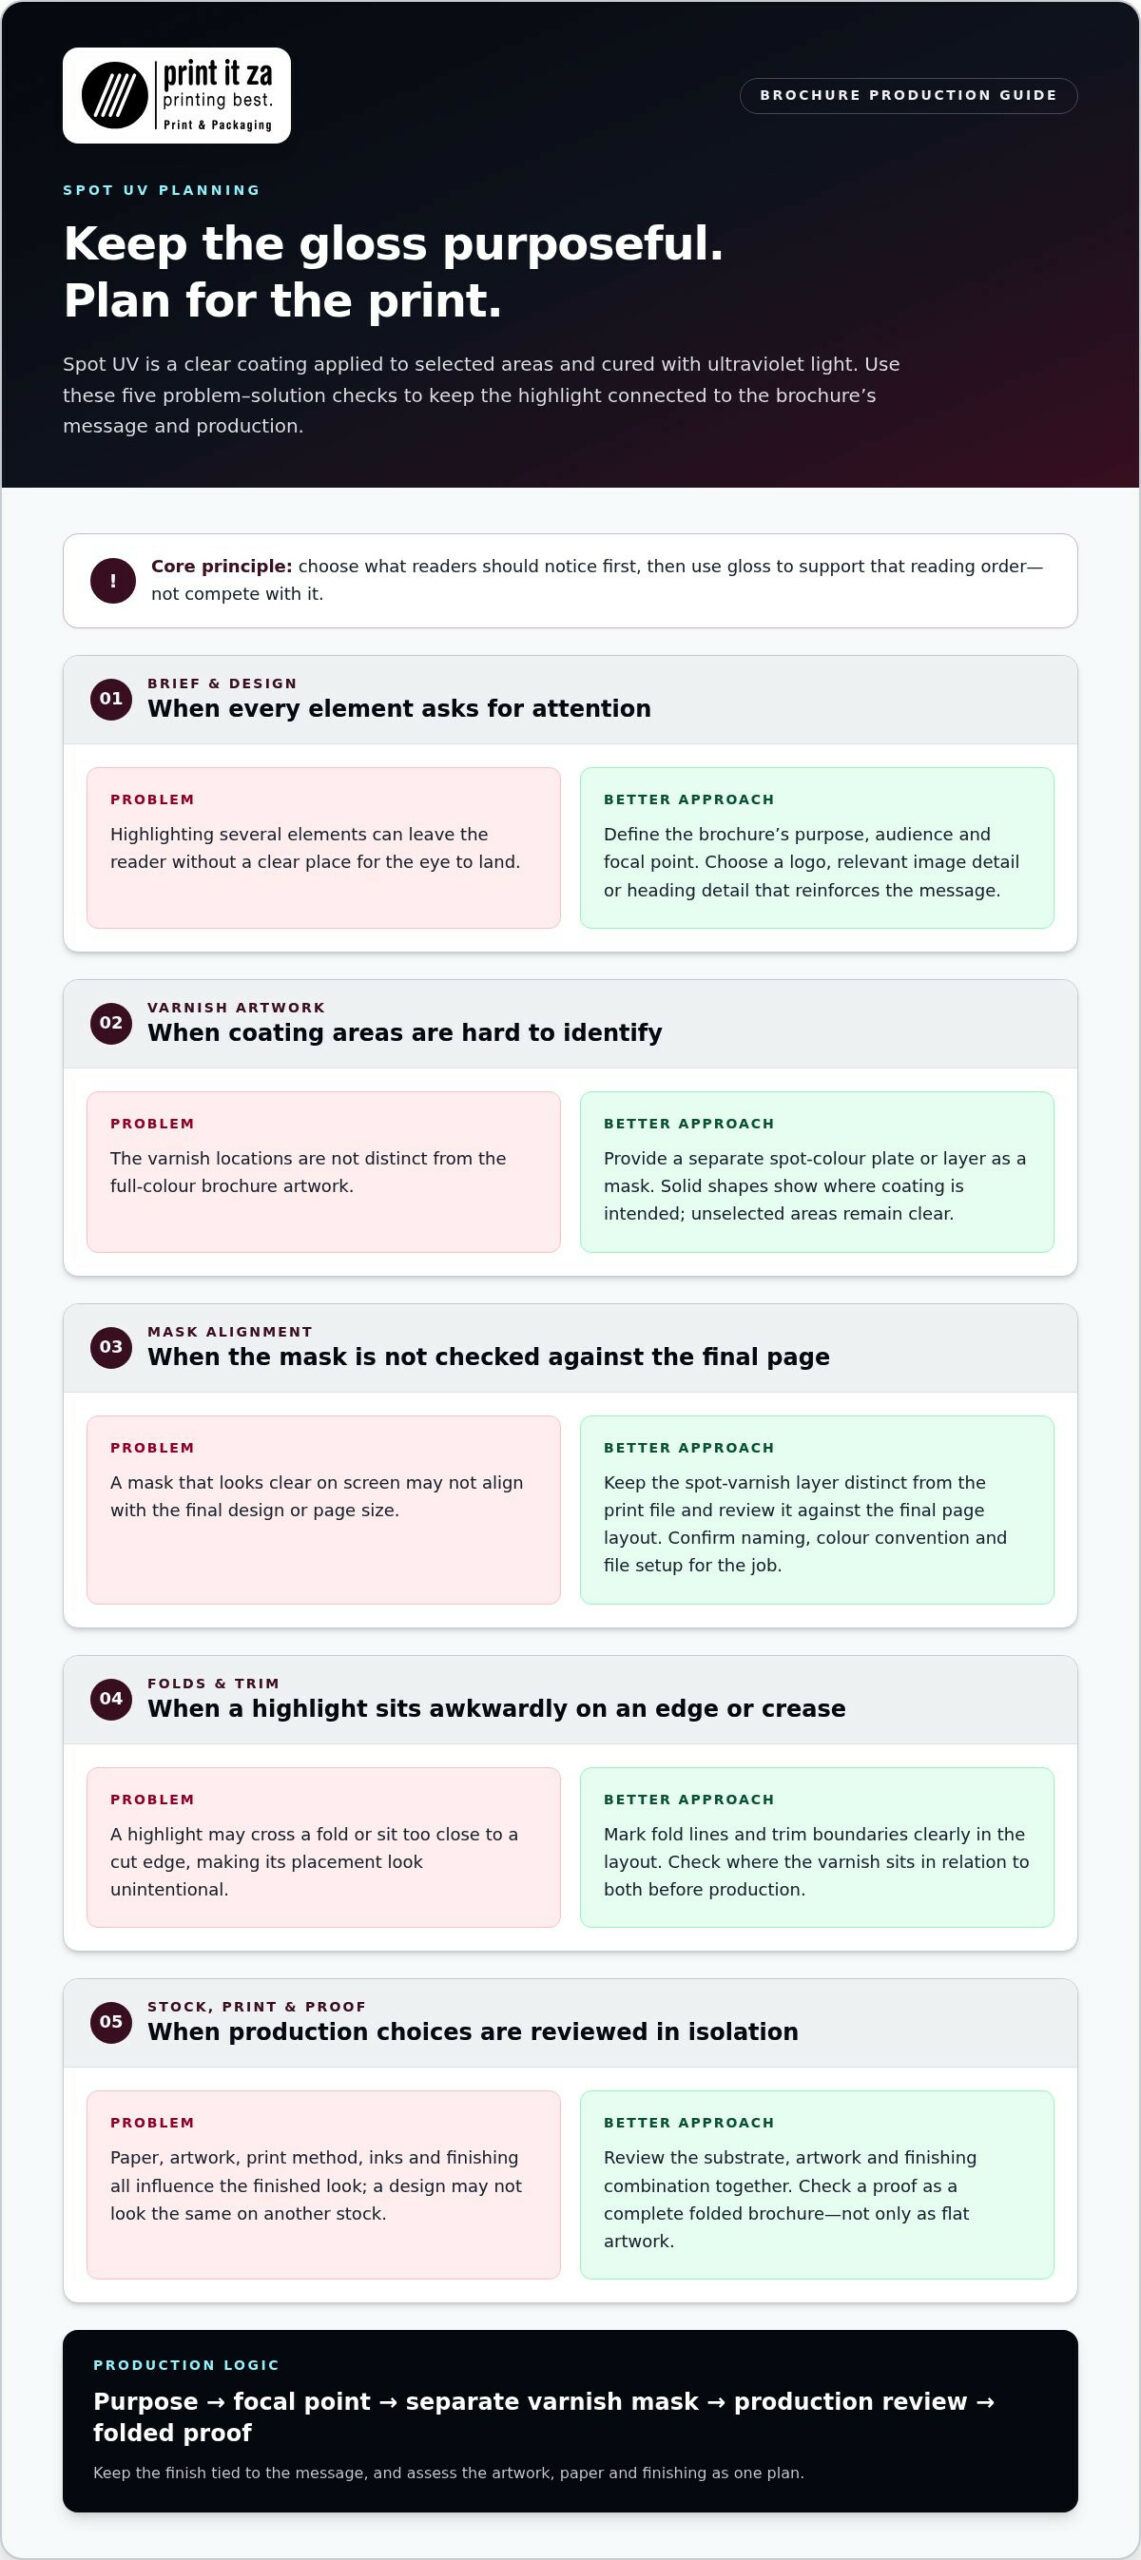
Good preparation makes the finish easier to assess before production. Keep the highlighted areas purposeful, legible and clearly connected to the brochure’s message. A spot treatment should reinforce the design, not make small details harder to read or pull attention away from essential content.
How should the spot-varnish artwork be organised?
Show the intended varnish areas separately from the full-colour brochure artwork so their placement is unambiguous. File format, layer names and colour convention depend on the production setup, so use the agreed specifications rather than assuming one universal standard. Check that the marked areas fit the final page dimensions and align with the printed elements they’re intended to highlight.
- Artwork: Keep the print design and varnish indication clearly distinguishable.
- Placement: Match each highlight to its intended text, image or graphic.
- Legibility: Avoid using the finish to emphasise tiny details that may become difficult to read or recognise.
- Page layout: Check the artwork against the finished size, including folds and trim.
- File setup: Follow the project’s agreed naming, layer and file-format requirements.
Before approving production, confirm that the varnish artwork is separate, correctly aligned to the final layout, clear of critical folds and trim, and easy to assess on the proof.
What should you review on a brochure proof?
Review the proof as a complete brochure, not simply as a collection of flat pages. Check whether the varnish sits on the intended elements, whether alignment looks consistent, and whether folds or trim affect placement. Then step back and assess visual balance: does the highlight support the reading order, or does it compete with a heading, offer or other important content?
- Confirm that each marked area matches the intended design element.
- Look closely at alignment between the varnish and the printed artwork.
- Check the position in relation to page edges, folds and trim.
- Consider the overall hierarchy and whether the finish distracts from key information.
- Make sure any requested changes are reflected in the proof before production approval.
For a brochure produced in Johannesburg or elsewhere in Gauteng, include the finish and proofing workflow in your wider review of professional printing services in Johannesburg. A clear discussion of the design, artwork and finishing requirements connects the visual goal to production planning.
Careful artwork preparation is especially useful for UV spot varnish for brochures because the final impression depends on both placement and restraint. Give the production team a clear indication of what should be highlighted, then use the proof to judge whether the effect works on the brochure as a whole.
Plan a UV Spot Varnish Brochure Project with Print It ZA print and packaging
A clear brief turns a finishing idea into a brochure planned around its audience and purpose. Before production begins, decide what readers should notice, how they’ll use the brochure and where it needs to go. These details help shape the design, format, print approach and finishing plan, so the varnish supports the communication goal rather than becoming an afterthought.
What belongs in a clear brochure print brief?
Bring the essential project details together in one place. Note the intended audience, brochure purpose, format, page count, quantity and distribution plan. Describe the impression you want the finished piece to make, and identify which design elements may benefit from emphasis. Include whether artwork is ready, still in development or needs design support, along with timing requirements for planning.
- Audience and purpose: Who will read the brochure, and what should they understand or do?
- Format and content: What format and page count will suit the information?
- Quantity and distribution: How many copies are needed, and where will they be used or delivered?
- Design direction: What overall impression should the finish create, and which elements are candidates for emphasis?
- Artwork and timing: What stage is the artwork at, and what dates should the production plan take into account?
How does Print It ZA print and packaging support the production journey?
Print It ZA brings in-house design support together with lithographic and digital printing capabilities, professional finishing and end-to-end print support. This connects the creative direction to production planning. The project requirements inform the production approach, including how the chosen stock, artwork and finish work together.
For a brochure project based in Johannesburg or elsewhere in Gauteng, include delivery needs in the brief from the outset. Print It ZA provides nationwide delivery, helping coordinate finished brochures with their intended destination. If you’re considering the wider production journey as well as UV spot varnish for brochures, the professional printing services guide can help put the project’s print requirements into context.
Once your audience, quantity, artwork status and preferred finish are clear, share the brief and request a tailored quote. Discuss your brochure project with Print It ZA to bring the design direction and production plan together.
Turn Your Finish Choice into a Confident Print Brief
Give your brochure finish a clear purpose before the project moves ahead. Write one sentence describing what you want the reader to notice, then connect that intention to the action you want them to take. This simple decision keeps the design focused and gives everyone involved a shared measure for judging whether UV spot varnish for brochures is right for the job.
Next, bring your creative direction and practical requirements into the same conversation. Consider how the brochure will be used, what should make an impression and what needs to remain easy to read. With a well-defined goal, the finishing choice becomes part of a considered communication plan, not a last-minute embellishment.
Print It ZA can support your project from its initial concept through production planning. Discuss your brochure project with Print It ZA and request a tailored quote. Give your next brochure a polished finish while keeping its message firmly in focus.
Frequently Asked Questions
Does UV spot varnish make a brochure waterproof?
No, UV spot varnish for brochures is a selective finish, not a guarantee that the entire brochure is waterproof. Only designated areas receive the coating, while the rest of the sheet remains subject to the properties of its paper and construction. Moisture, handling and other exposure conditions matter too. If brochures will be used in a setting where they may get wet, describe that environment in your production brief.
Can UV spot varnish be applied to both sides of a brochure?
It can be planned for both sides, but two-sided finishing is a project-specific production decision, not an automatic assumption. The design, stock, folds and production route all influence feasibility and the final appearance. Show both sides in your supplied artwork, mark the intended varnish areas clearly on each, and include the two-sided requirement in your brief. This gives the production team the information needed to plan the job as a whole.
Is spot UV suitable for a short-run brochure?
It may suit a short run, but quantity alone doesn’t determine whether it’s the right choice. The design, requested quantity and production method all inform the decision. Include your quantity, intended use and finishing priorities in the brief so the production approach can be planned around the complete project.
Will UV spot varnish change the colour of my brochure design?
Spot varnish is clear, but a treated area may look different from an untreated one because its surface finish changes how the design appears. The result can vary with the paper, inks and viewing conditions, so don’t assume colours will look identical in every situation. Review the production proof for the intended contrast, exact placement and balance with nearby elements. This helps you judge the design as a complete printed piece before approval.
Can a brochure fold through an area with spot UV?
A fold can pass through a varnished area, but placement deserves attention during design and production planning because the finish and substrate may affect the result. Where practical, keep important highlighted details clear of folds. Review the artwork with fold lines visible, and assess how the design reads as a folded brochure, not only as a flat page.
Can spot UV brochures be recycled?
Recyclability depends on the brochure’s paper, inks and coatings, as well as the capabilities of local recycling systems. There isn’t a blanket yes or no that applies to every finished brochure. If recycling is a project requirement, state it in your brief before materials and finishing are planned. Consider these choices together rather than treating the coating as the only factor in the brochure’s end-of-life options.
How should finished spot UV brochures be stored?
Keep finished brochures clean, dry and protected from excessive pressure or abrasion during handling and storage. The right packing approach depends on the brochure’s format and how it will be distributed. For example, brochures being transported to an event may need different handling from copies stored for later use. Follow the production and handling guidance for your project, and avoid assuming a specific curing time or guaranteed resistance to scratches.